Project Details Panel (Ctrl +D)
The Project Details Panel is used to Create New Projects and to manage existing ones. Use it to:
1. Change the name of a project.
2. Set the maximum graphics size publishing threshold for an individual project.
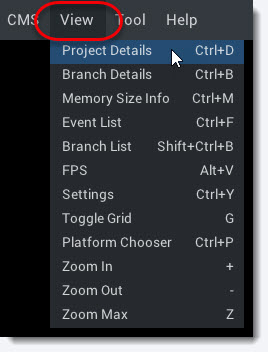
The Project Details Panel can be toggled with by using Ctrl – D or by selecting it in the View Menu in the Top Navigation
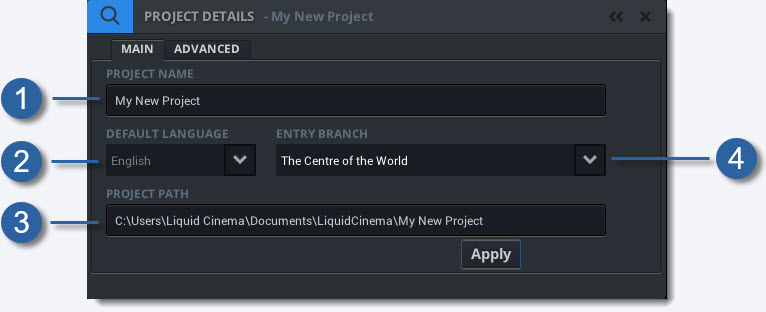
Project Details Panel Overview
-
1
Project Name
Change the name of the project by typing in a new name.
-
2
Project Language
This displays the project's default language that was set when the project was created. The default language cannot be changed.
...more
Advanced Tab
Use the Advanced Tab in the Project Details Panel to set file size limits for graphical assets uploaded by the authoring tool for publishing.
Many mobile devices have limits in terms of the graphic file sizes that they can display. Older phones can crash if they have to display graphics larger than 2K. You can import graphical assets of any size into the Liquid Cinema Authoring Tool as long as your GPU can handle their size and resolution.
However, when Liquid Cinema uploads the project for publishing to a cloud-based CMS and distribution solution like 360FLIX, that supports the Liquid Cinema Project Format, the graphics will be downsampled to correspond to the threshold set in the Project Details Panel.
Setting The Maximum Graphics Size Threshold
Though this feature is available in the UI of the authoring tool, it has not been fully implemented yet. It is advised to maintain careful control of the size of graphics imported into the tool.
Click on the Advanced Tab in the Project Details Panel
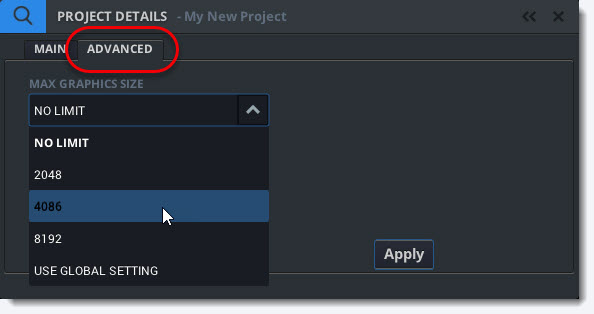
Then select the desired maximum graphics size and click Apply.
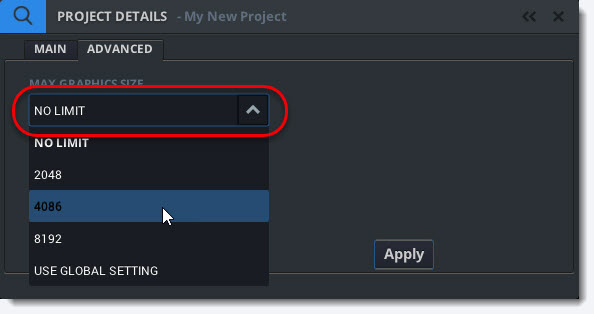
Available settings are:
1. No Limit – The graphics files will not be downsampled but uploaded as is.
2. 2048 – Graphics larger than 2K will be downsampled to 2K.
3. 4096 – Graphics larger than 4K will be downsampled to 4K.
4. 8192 – Graphics larger than 8K will be downsampled to 8K.
5. Use Global Settings – Uses the settings defined in the Settings Panel (Ctrl +Y)