Making Graphics Interactive
In this section you will learn how to:
Link an Action to your Graphic
The steps below describe how to create a graphic that once clicked, triggers an Action, such as jump to a new frame.
- Open the Graphic Editor by double-clicking your Graphic Event on the Timeline or Adding a New Graphic to your Project
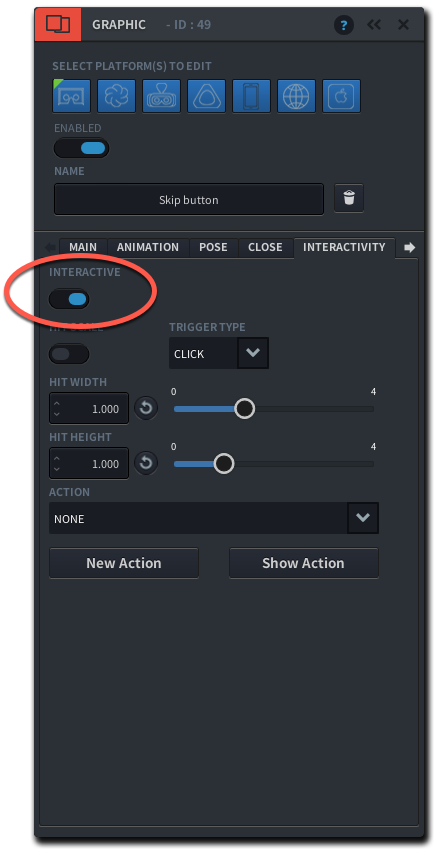
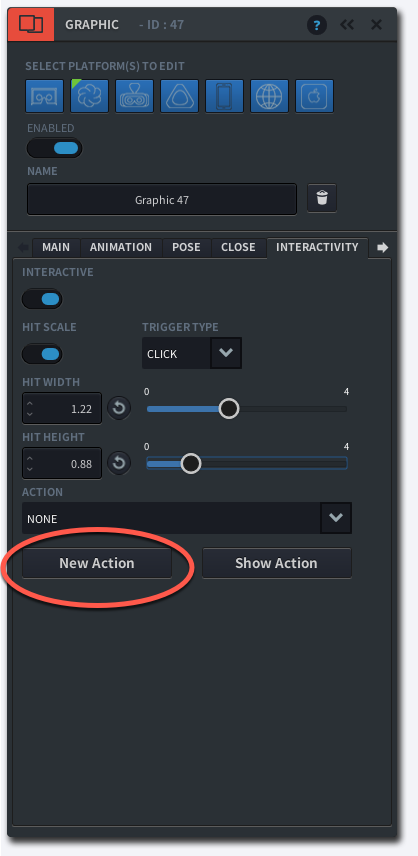
- In your Graphic Editor panel, click on the Interactivity tab and enable the Interactive toggle
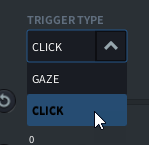
- Choose the Trigger type from the dropdown menu. ‘Gaze’ triggers the interactive Action when the user is looking at the graphic, ‘Click’ triggers the Action upon a mouse-click or VR controller-click.
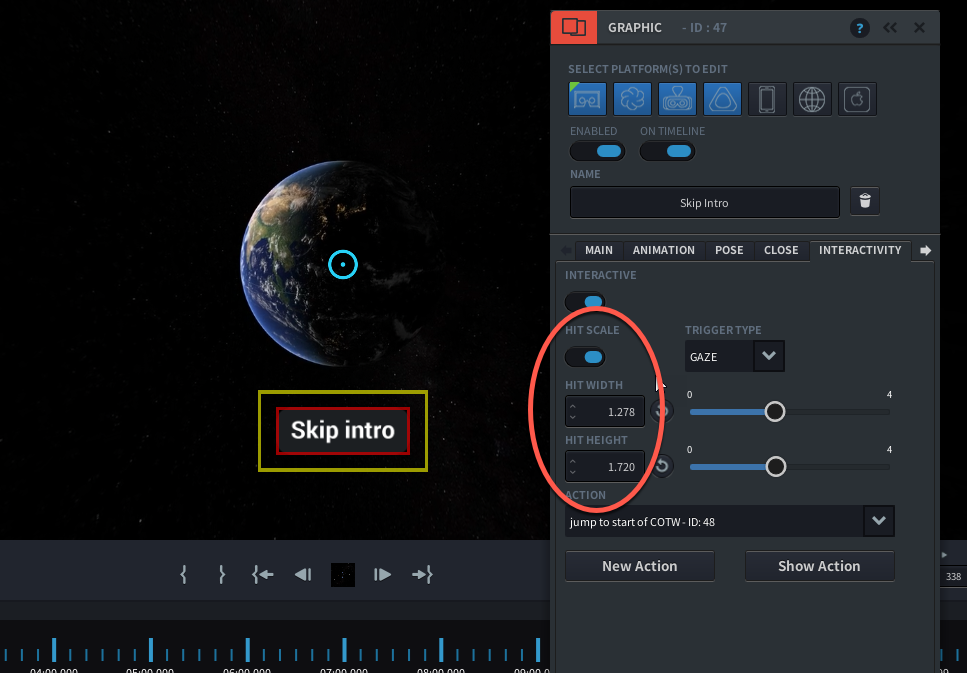
- You now have to set the HIT SCALE, the sensitive area that when gazed at or clicked upon triggers the Action. By default, the HIT SCALE is automatically set to the dimensions of your Graphic asset. But if you want to modify the HIT SCALE area, you can switch on the HIT SCALE toggle, and adjust the HIT WIDTH and HIT HEIGHT. The HIT SCALE area is indicated in your Preview Window with yellow borders.
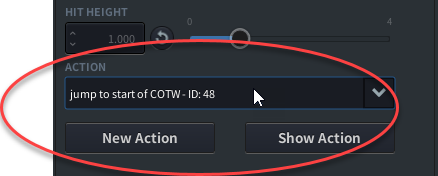
- From the Action drop down menu, choose the action you wish the Graphic to perform. If you have not yet created any Actions, follow the steps below to learn how to Create a New Action.
Create a Jump Action
A Jump Action is when upon playback you jump from one frame (=point in time), to a non-sequential other frame within the same branch (=timeline), or to a frame within another branch.
To create a Jump Action for your interactive Graphic:
- Make sure your Graphic is set to ‘Interactive (step 1- 4 see section above)
- Click on the button ‘New Action’ on the Interactivity panel of the Graphic Editor
- The Action Editing panel shows up next to your Graphic Editor panel. Give your Action a name, such as ‘Skip Intro’
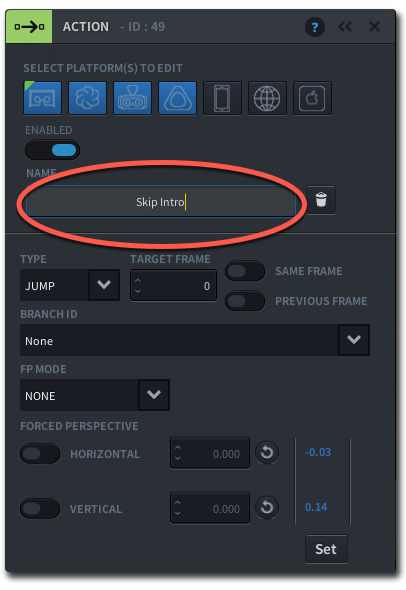
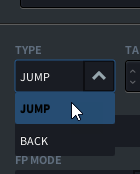
- Specify ‘Jump’ as the Type of Action
- Enter the target frame where you want the playhead to jump to. In order to find the desired target frame, you can move around the playhead on the timeline. Read the target frame number on the Control Bar to know what frame number corresponds to the position of the Playhead
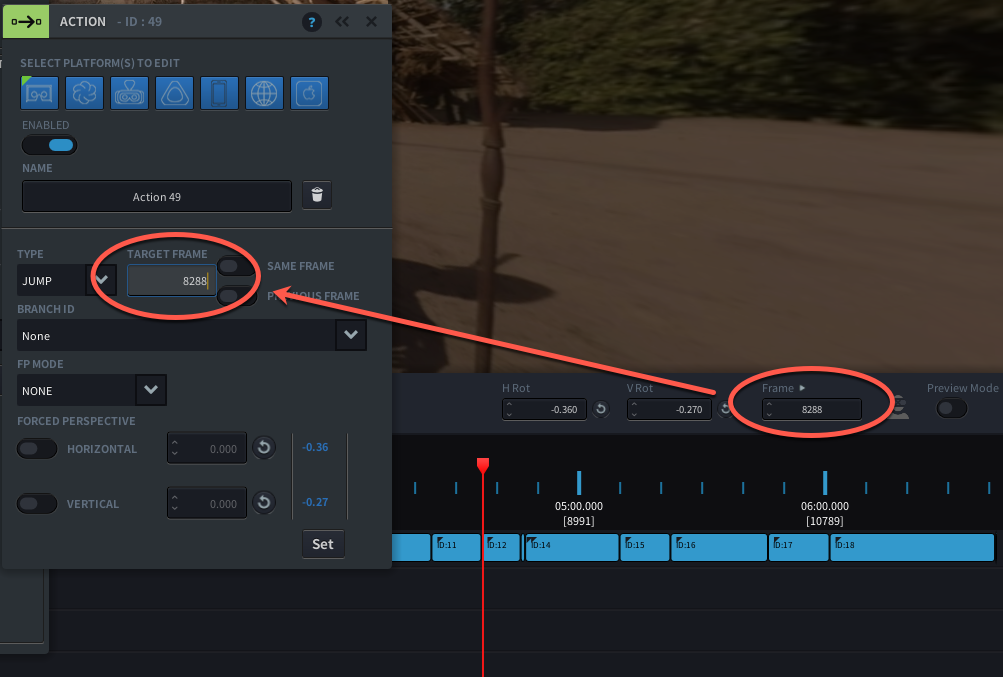
- If your Control Bar’s units are set to Time instead of Frame number, the target field will show as hh:mm:ss:ff ( hours:minutes:seconds:frames). Enter the desired time, or change the unit back to frames on the Control Bar.
- Select the Branch ID from the drop-down menu.
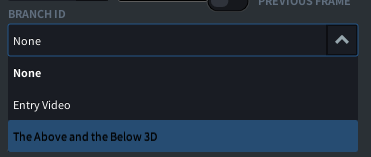
If you want the jump to occur on the same timeline or branch, select the branch ID that corresponds to your current video. You can find the ID name above the preview window

If you want to jump to another video within in your project, you will have to select the the branch ID of that target video, or import a new branch.
Learn more about multi-branching projects.
Add a hover state to your Graphic
- On the Hover tab of the Graphic Editor panel, enable the Gaze Hover toggle
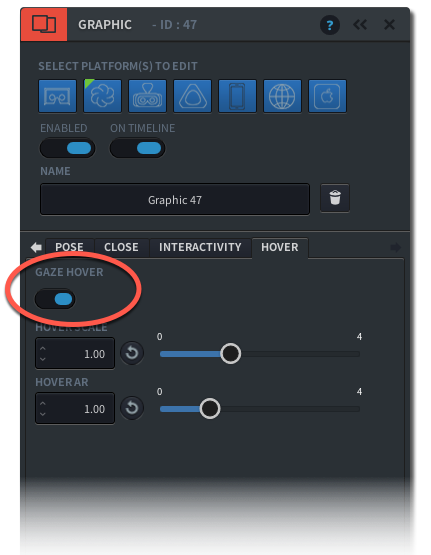
- You can now set a custom size for your graphic, by adjusting the values of the Hover Scale and Hover Aspect Ratio
- To watch back how your Graphic will behave in Hover state, exit editing mode by pressing the c-key or closing the Graphic Editor, and press play on the Control bar. Make sure to enable ‘Preview Mode’
Add a Close Button to your Graphic
If you want the user to be able to close a graphic, you can add a close button by doing the following:
- On the Graphic Editor panel go to the Close Tab. Enable the SHOW CLOSE BUTTON toggle
- Set the position of your close button: Top Right, Top Centre, Top Left, Bottom Right, Bottom Centre or Bottom Left
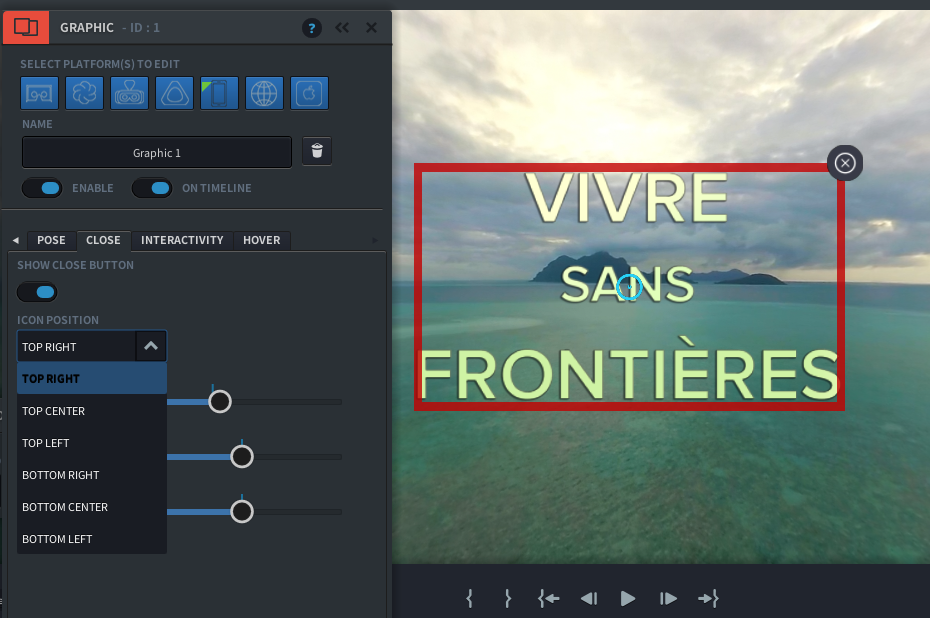
- With the SCALE and TRANSLATION sliders you can adjust the size and positioning of the button