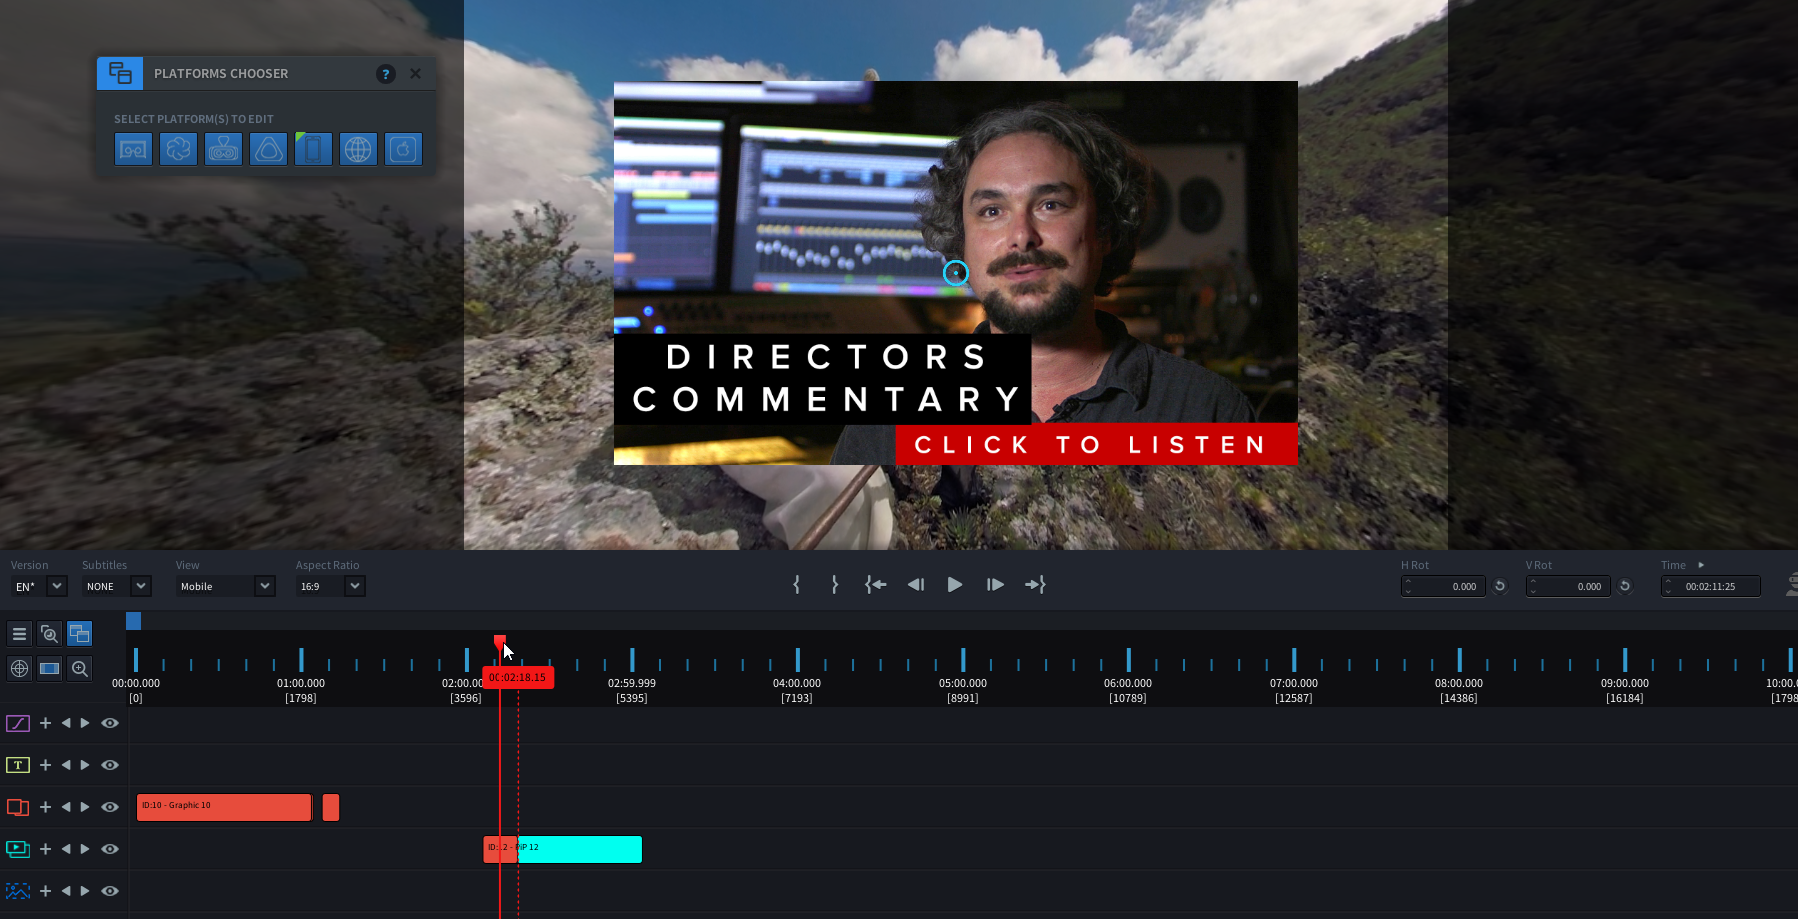
Using Picture in Picture
Picture in Picture (PIP) allows you to place a video within your main video frame that can behave and be played back independently of your main video.
In this section, you will learn to:
- add a PIP event to your project
- add a Poster Image to your PIP
- position your PIP within a 2D or 3D space
- adjust the depth of your PIP
- add a fade to your PIP
Before you Start
PIP can only play back one video at the time. When using multiple PIPs on the timeline and a user tries to play more than one video, the first video will pause before the second starts to play. This is due to device bandwidth restrictions.
Add a PIP to your project
In order to create a PIP, you will first need to import your PIP’s video file.
- Drag and drop your PIP’s video onto the Preview Window
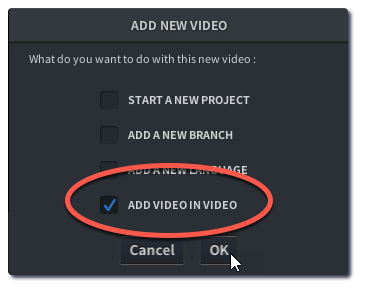
- The authoring tool will ask you how you will be using this video. Select ADD VIDEO IN VIDEO and press OK
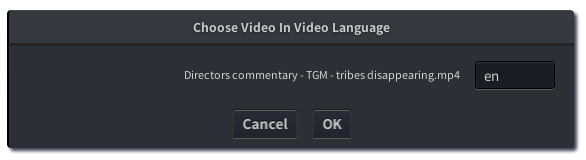
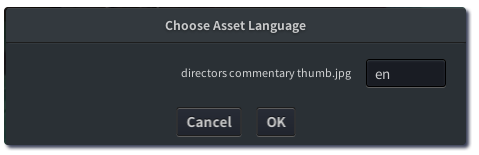
- Choose the language of your PIP. Press OK
- Choose an In-point on the TIMELINE where you want your PIP to appear.
- Choose an Out-point on the TIMELINE, and click the
 button next to the PIP Event icon
  to add the PIP event
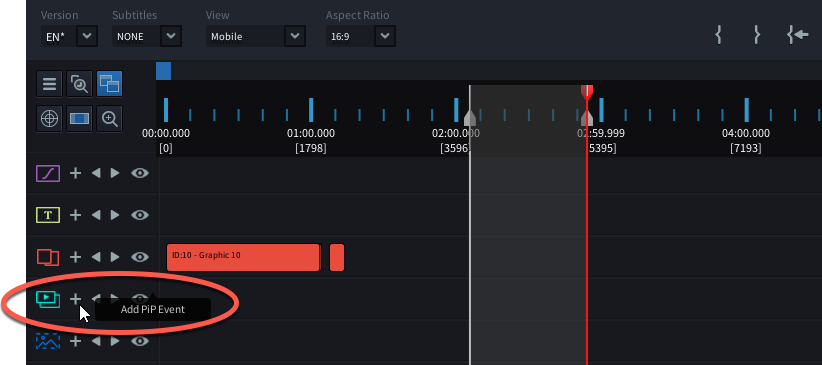
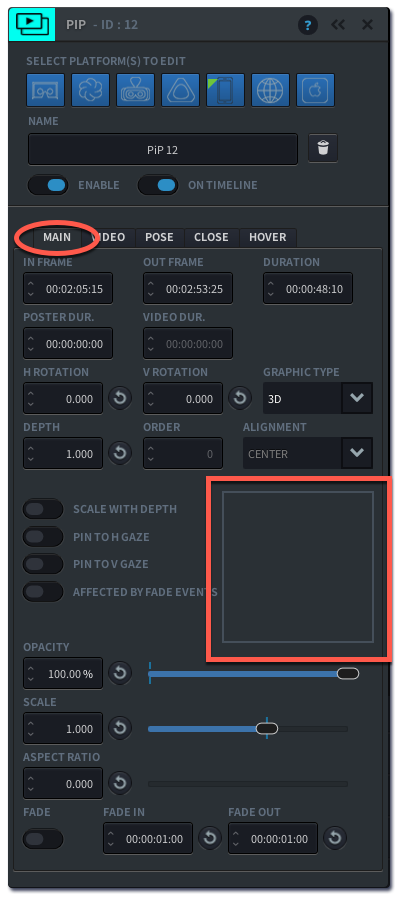
- The PIP Event Editor panel will pop up, and a PIP Event will appear on the timeline. A black square will appear in the middle of your Preview Window, as a placeholder for your PIP.
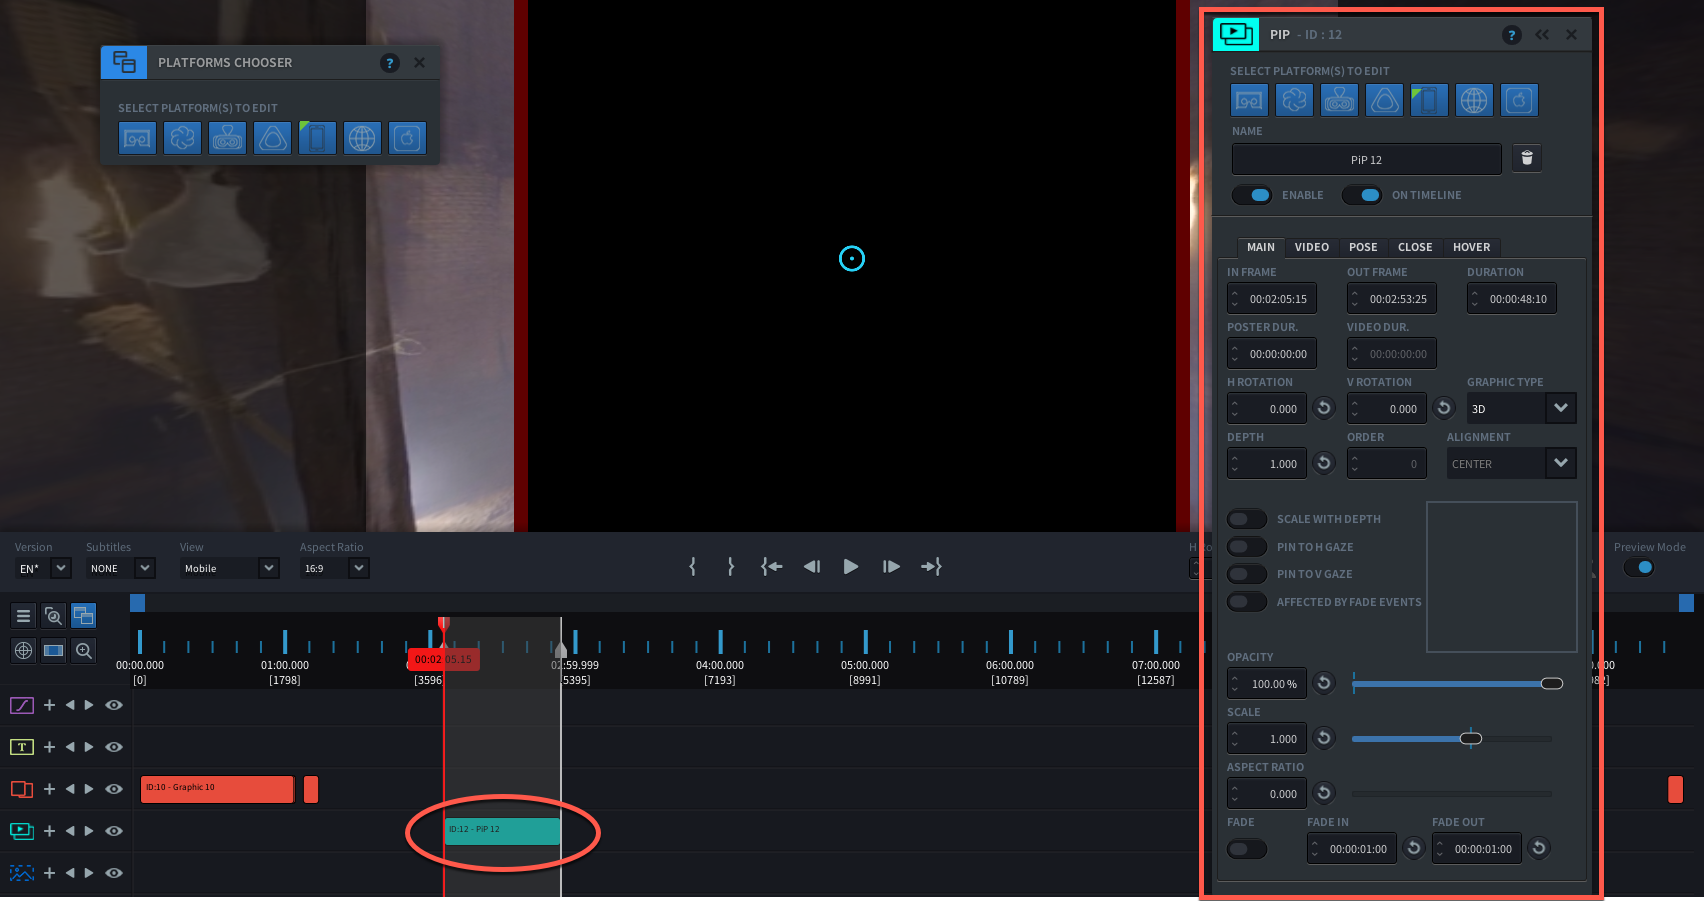
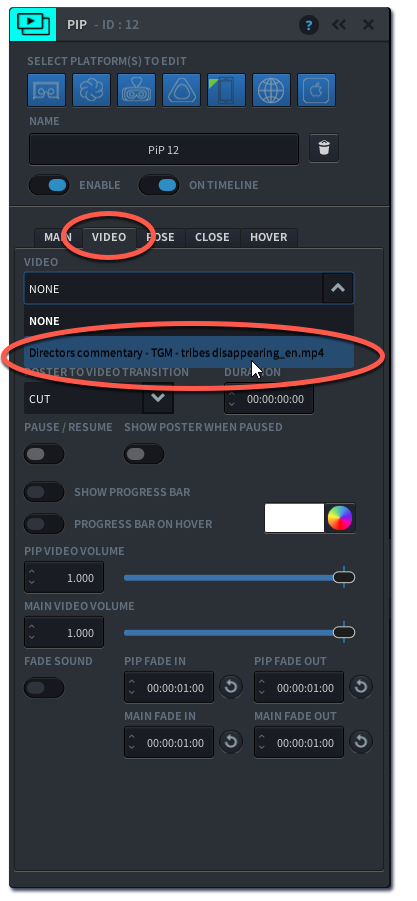
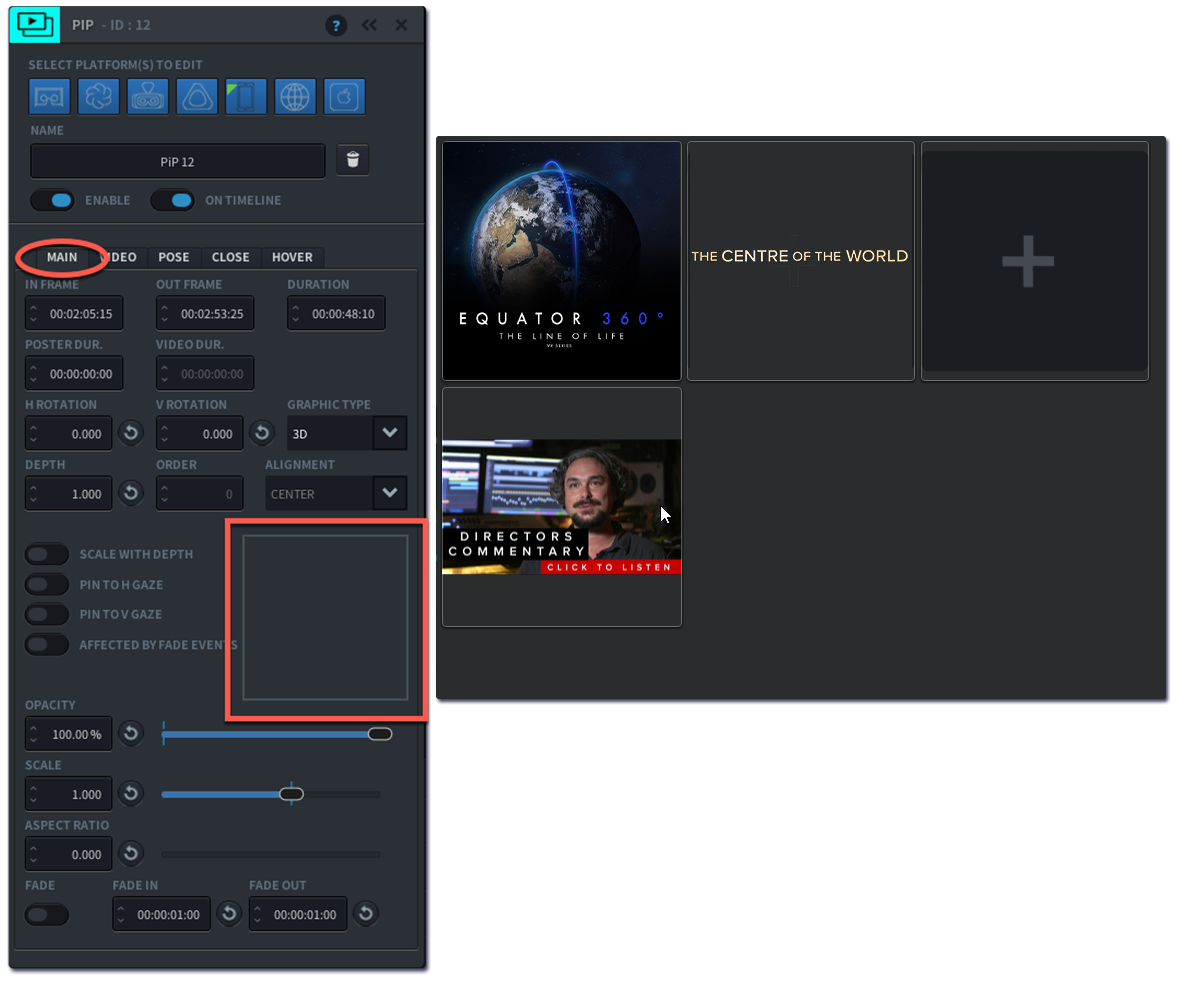
- Go to the VIDEO tab on the PIP Event Editor. Select your video from the drop down menu. The Preview Window will now update your PIP’s content to show the PIP video and thumbnail you have selected.
- The PIP video will now be loaded in the Preview Window. The duration of your PIP event on the timeline has automatically adjusted to fit the duration of your PIP video. You can now set the positioning of your PIP, add a Poster Image to your PIP and modify the Behaviour of your PIP.
- By default your PIP is set to auto play but you can change the behaviour by assigning a CLICK TO START or GAZE TO START behaviour to it.
Add a Poster Image to your PIP
You may want to set a poster image for your PIP video if you don’t want the PIP video to automatically play upon loading. The poster image can be used as a trigger to launch the PIP.
- Import the Poster Image by drag and dropping a JPEG or PNG file onto the Preview Window. Make sure the aspect ratio of your Poster Image is the same as your PIP video
- Choose the language of your Poster Image and press OK
- On the Main tab of the PIP Event Editor, click on the empty square to select a thumbnail for your PIP.
- The image library will pop up. Select the Poster Image for your PIP that you just imported.
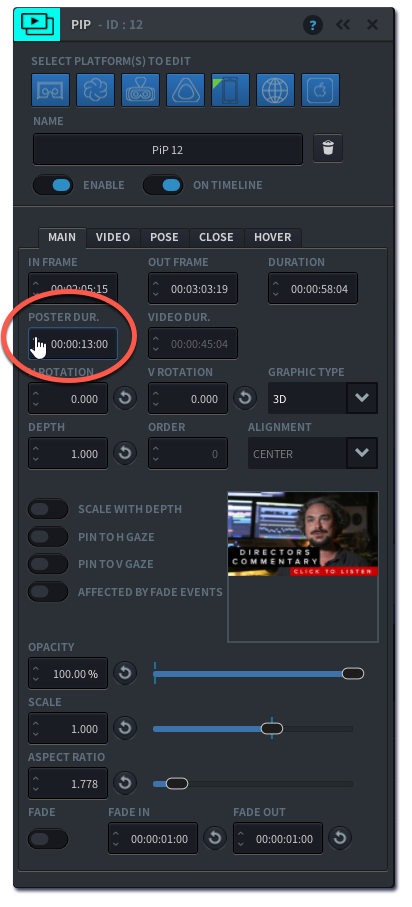
- Set the Duration of your Poster Image by entering a value >0 . This duration indicates how long your Poster Image will be visible to the user before it disappears. During this time, user interaction is possible with the Poster Image, to launch the PIP Video.
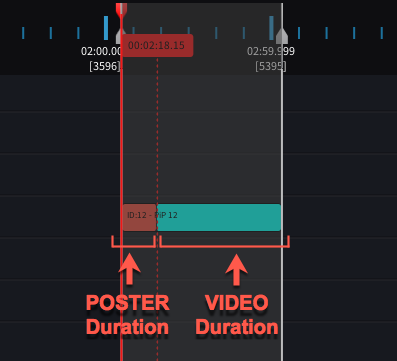
- The Duration of your Poster Image is represented on the Event Timeline by the red bar that is added in front of the PIP Video bar. As you increase the duration of the Poster Image, you will see that the total Duration of your PIP event increases. The Out Frame marks the last frame by which your PIP video might be visible.
- You will now be able to see your Poster Image in the Preview Window if you move the playhead over the red bar representing the Poster Image.
Position your PIP within a 2D or 3D space
The PIP Editor allows you to place PIPs either within the two dimensional frame of the viewing window, or place them within a three dimensional space as part of your 360 sphere. You can set this behaviour per platform; so within one project your PIP can behave differently depending on what platform it is being played back on.
To position a 2D PIP:
- Open the PIP EVENT EDITOR by double clicking an existing PIP event on the Timeline.
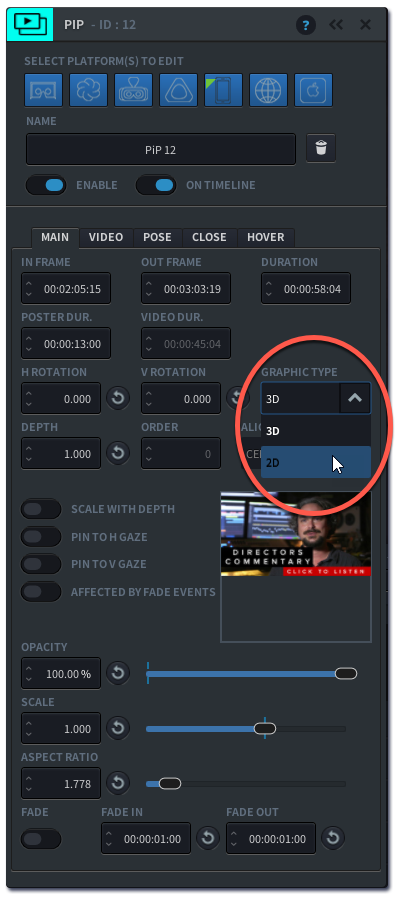
- On the Main tab, choose 2D from the GRAPHIC TYPE drop down menu
- Resize your PIP by adjusting the SCALE slider
- Set the X-POSITION and Y-POSITION to adjust the placement
- You can also change the positioning within the frame by choosing from the ALIGNMENT drop down menu
- Hit the c-key to close the editing panel or close by clicking the ‘x’ button
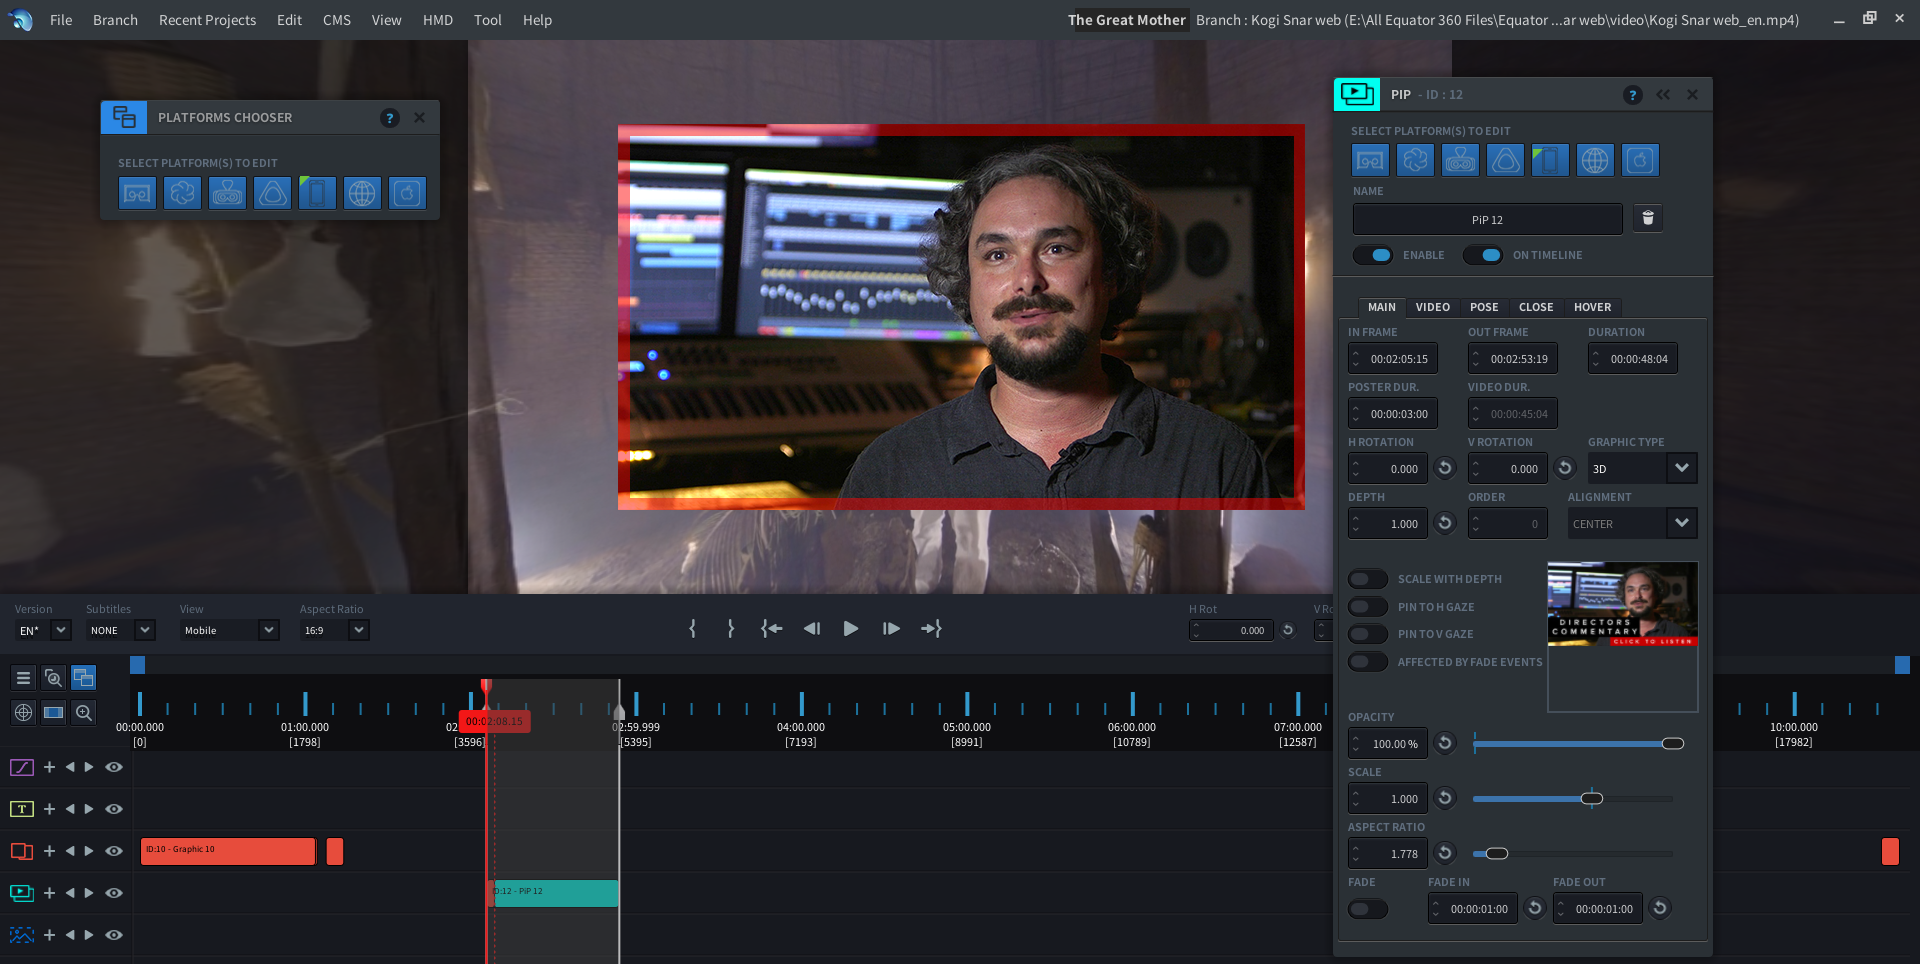
To position a 3D PIP:
- Open the EVENT EDITOR by double-clicking your PIP event on the Timeline
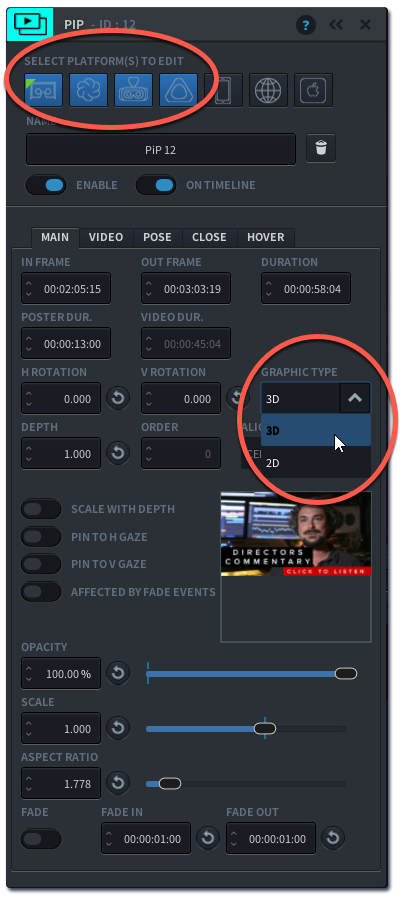
- On the PLATFORM SELECTOR, choose which platforms you want to edit. In this example, we set this the PIP to 3D Type for all VR platforms
- On the Main tab, choose 3D from the GRAPHIC TYPE drop down menu
- Set the H ROTATION and V ROTATION to place your PIP along the horizontal and vertical rotation coordinates
- Adjust the DEPTH positioning within the 360 space by changing the numbers in the DEPTH field. In VR, DEPTH is important for perceived distance of the PIP in relation to the viewer. Read more about DEPTH positioning below
- Use the SCALE and ASPECT RATIO sliders to adjust the size of your PIP
- Hit the c-key to close the editing panel, or close by clicking the ‘x’
Adjusting the Depth of your PIP
The DEPTH input field can be used to position 3D type events such as graphics, texts and PIPs in relation to one another within the physical space. If you want to position a PIP behind for instance a text event, you can increase the DEPTH value of the PIP to make it appear further away which will render the text on top of the PIP.
DEPTH will influence the perceived size of the PIP. As it moves further away from the viewer (higher depth value), the PIP will appear smaller.
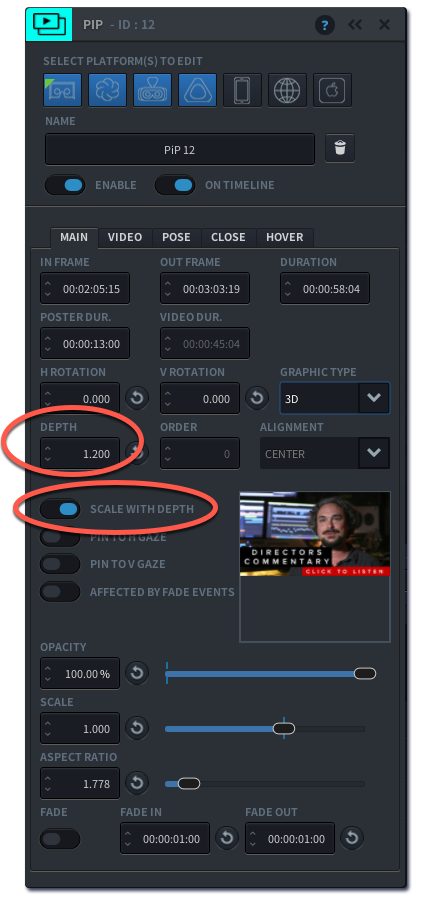
- To adjust DEPTH, make sure your PIP is set to 3D TYPE GRAPHIC
- Enter the desired value in the DEPTH field. If you are authoring for VR it’s best to have an HMD attached to your computer to see how your changes are affecting your PIP’s appearance in VR as you are adjusting these values
- If you wish to maintain the current size of your PIP while changing its depth, enable the SCALE WITH DEPTH toggle
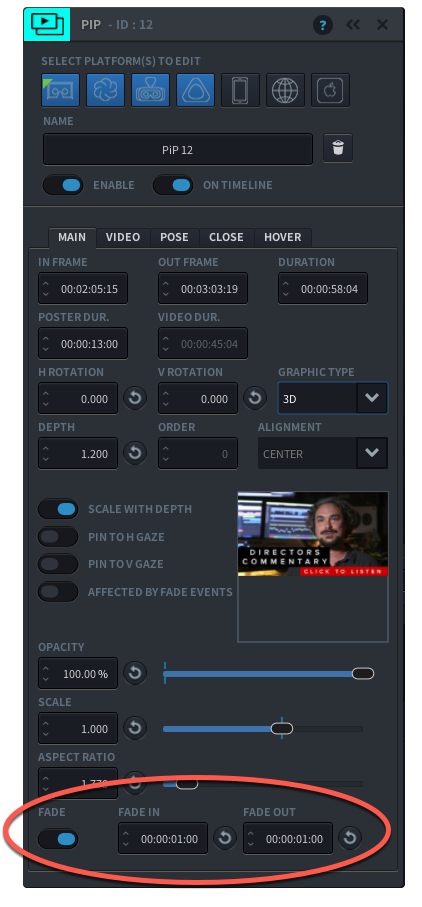
Adding a Fade to a PIP Event
- Open the PIP Editor by double-clicking on your PIP event in the Timeline
- On the Main tab, switch the FADE toggle on
- The fade function comes with a default 1 second FADE IN and 1 second FADE OUT duration. You can adjust the length of the fades by entering a different number
- Close the panel by hitting the c-key or clicking the ‘x’ button