Using the Adobe Premiere Plug-in
The Liquid Cinema Export Utility exports your Premiere’s timeline as a metadata file that includes information on where the cuts are placed on the timeline of your film. When importing this metadata file into the Liquid Cinema Authoring Tool, it transfers these cuts into the Liquid Cinema Timeline allowing you to align live rendered events such as Forced Perspectives, Graphics, Text, Subtitles, Tweens and Fades in a frame accurate manner over your authored VR film.
How to Import your Timeline from Premiere
- Download the Liquid Cinema Adobe Export Utility by using the Adobe Creative Cloud desktop App or direct download:

- Install the plugin. If you direct downloaded the ZXP file, you can use a free ZXP extension installer to install it
- Launch your Adobe Premiere project with the timeline opened that you wish to export
- From Premiere’s top navigation, choose >Window>extensions>Liquid Cinema Panel
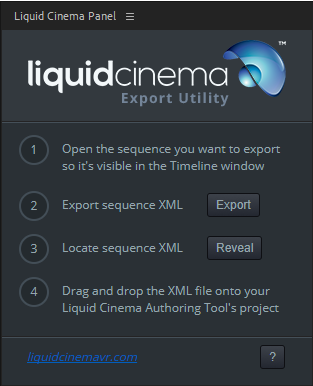
- The Liquid Cinema Export Utility panel will pop up. Click EXPORT
- Save the XML file under a name of your choice.
- Open the Liquid Cinema authored project. Drag and drop the XML file onto the Preview Window.
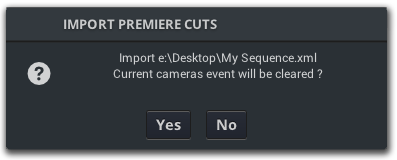
- A pop-up will ask you if you want to clear the current camera events. Click YES
- The new camera events based on your Premiere’s timeline will show up on the Authoring Timeline.
Hard Cuts vs. Cross Fades
When creating your cut in Premiere, ensure that your shot transitions are Hard Cuts, and not Cross Fades unless you do not use Forced Perspective in the next shot. Forced Perspective only works on a Hard Cut.