Adding a Video Branch
Create a Multi-Branching Project by adding a Still Image Branch or video branch to a project.
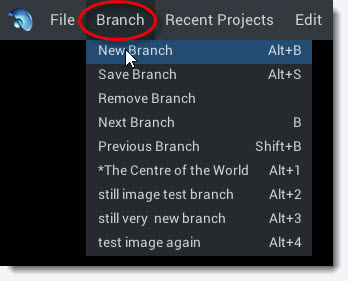
1. To create a video branch select Branch->New Branch
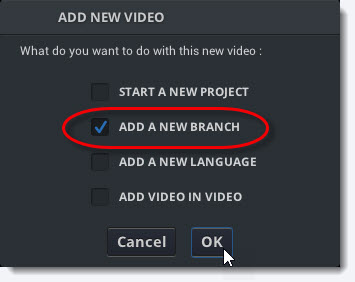
Alternatively, you can drag and drop a 360 video (mono or stereo) or 2D video into the viewer of an open project, which will prompt an import dialogue. Choose ADD A NEW BRANCH and click OK.
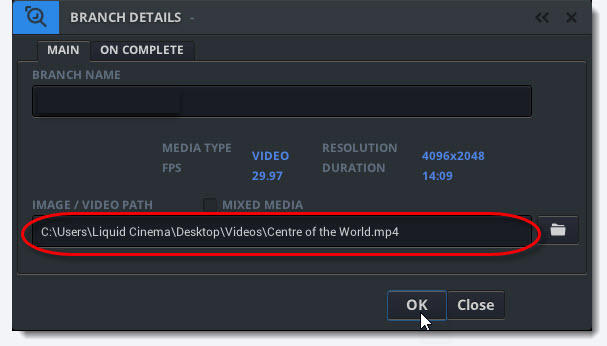
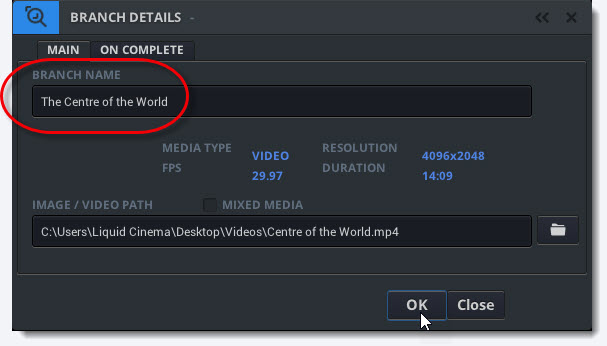
2. Now the Branch Details Panel will appear. If you used the drag and drop option the file path of your video will already be inserted into the image/video path field.
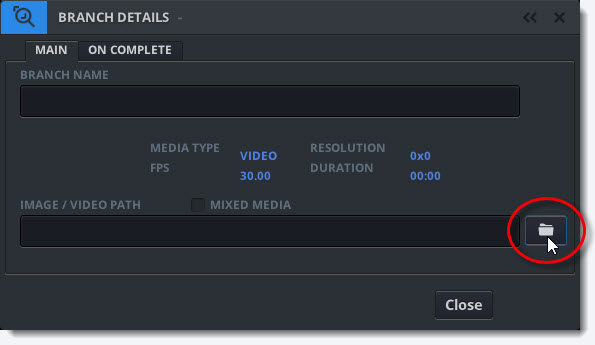
If you added a branch using the BRANCH->NEW BRANCH menu, click the Folder Icon to add a 360 or 2D video to the branch.
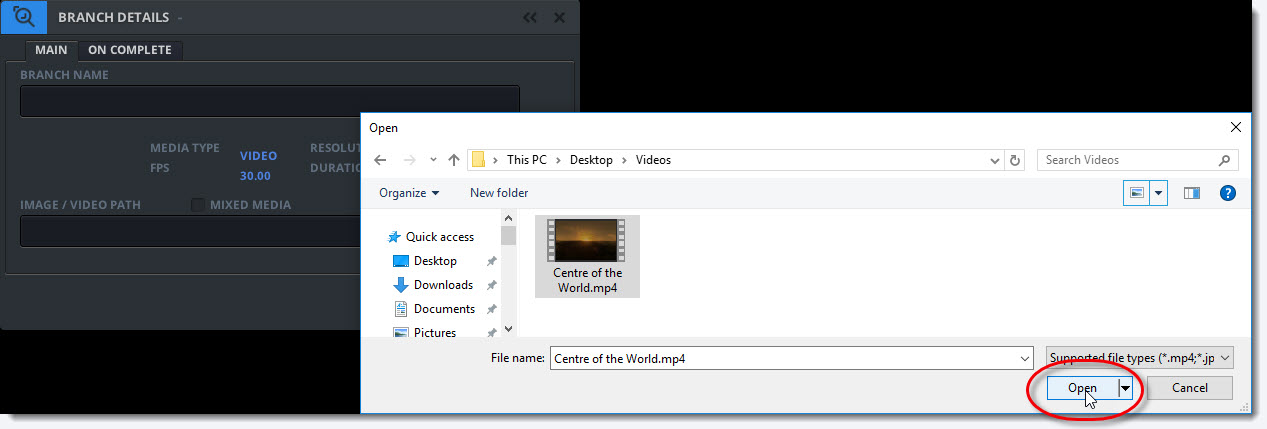
3. Use the Windows Explorer to choose a video and click Open.
4. Enter a mandatory branch name and click OK.
Branch Names
If the name of a branch already exists within a project you will not be able to create a new branch with the same name.
5. Your video will now be copied to your Project Folder. Watch the status bar in the title bar to ensure the copy process is successful.

6. After your video is successfully imported it should appear in your viewer represented by a blue line in the Camera Timeline.
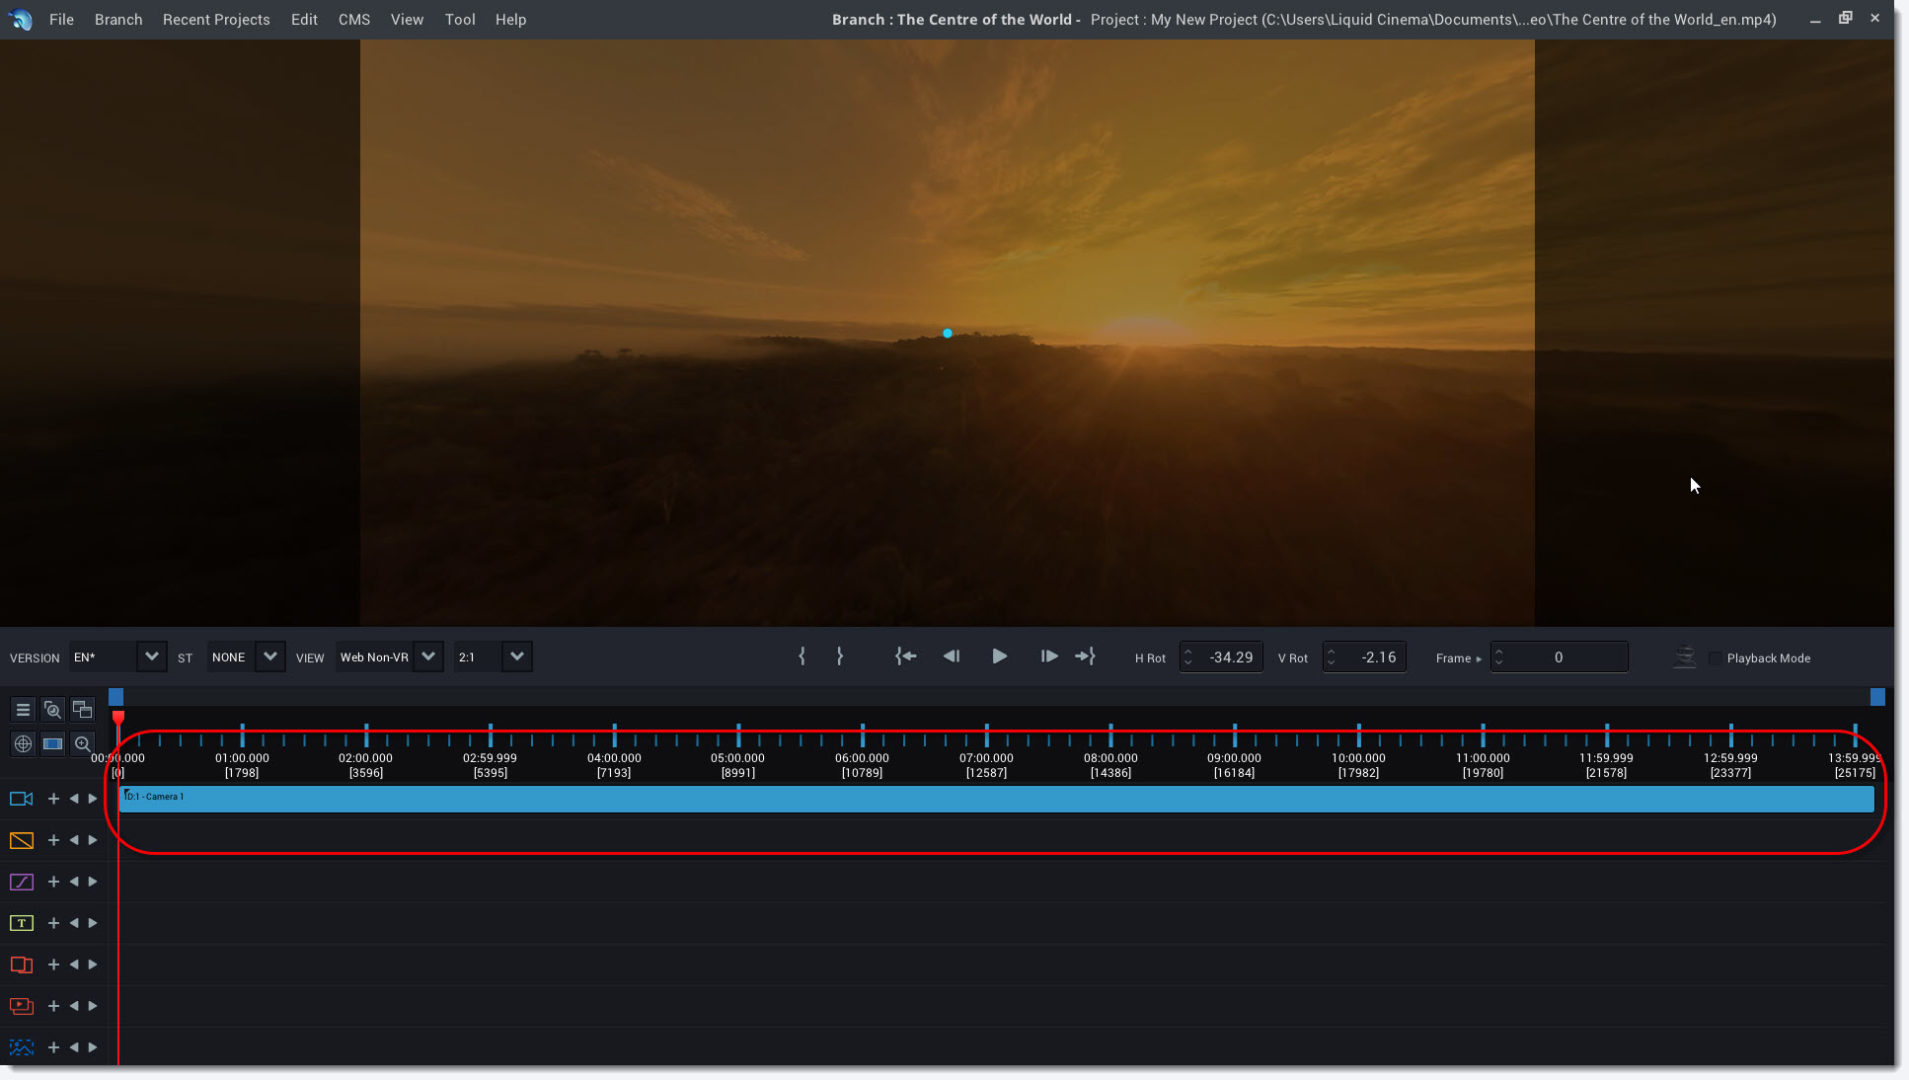
Note: You can see the branch name, project name and project file path in the title bar.

7. Use the Camera Event Panel to set the correct projection mode for your video branch. It will be set to 360 monoscopic projection by default.