Gaze Based Graphics
in this section you will learn how to:
Using Pin to Gaze to pin your graphic to your gaze
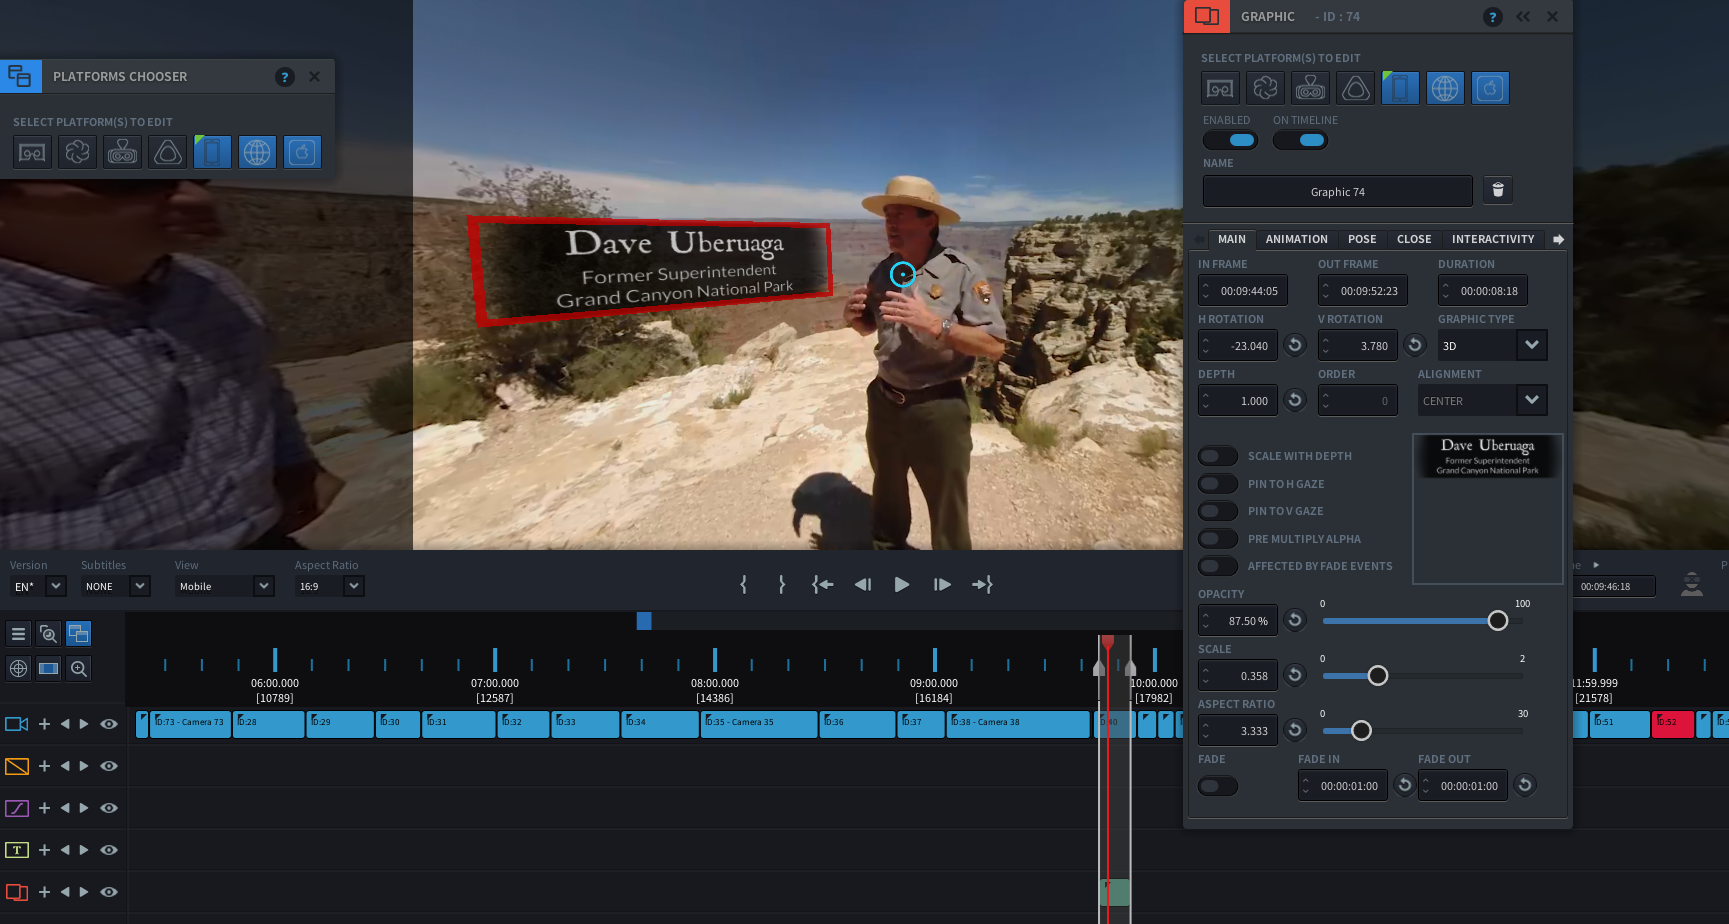
When using 3D Type graphics, you can either place them Pinned to Sphere or Pinned to Gaze. By default when placing a spherical graphic, the graphic is pinned to the sphere, meaning that it is fixed on a horizontal and vertical rotation angle. This might be useful when you are creating a title graphic for an on-screen person.
If however you have a graphic that you want to appear based on the user’s gaze, so it shows up in the middle of the FOV regardless of where they were looking before, you want to use the Pin to Gaze functionality.
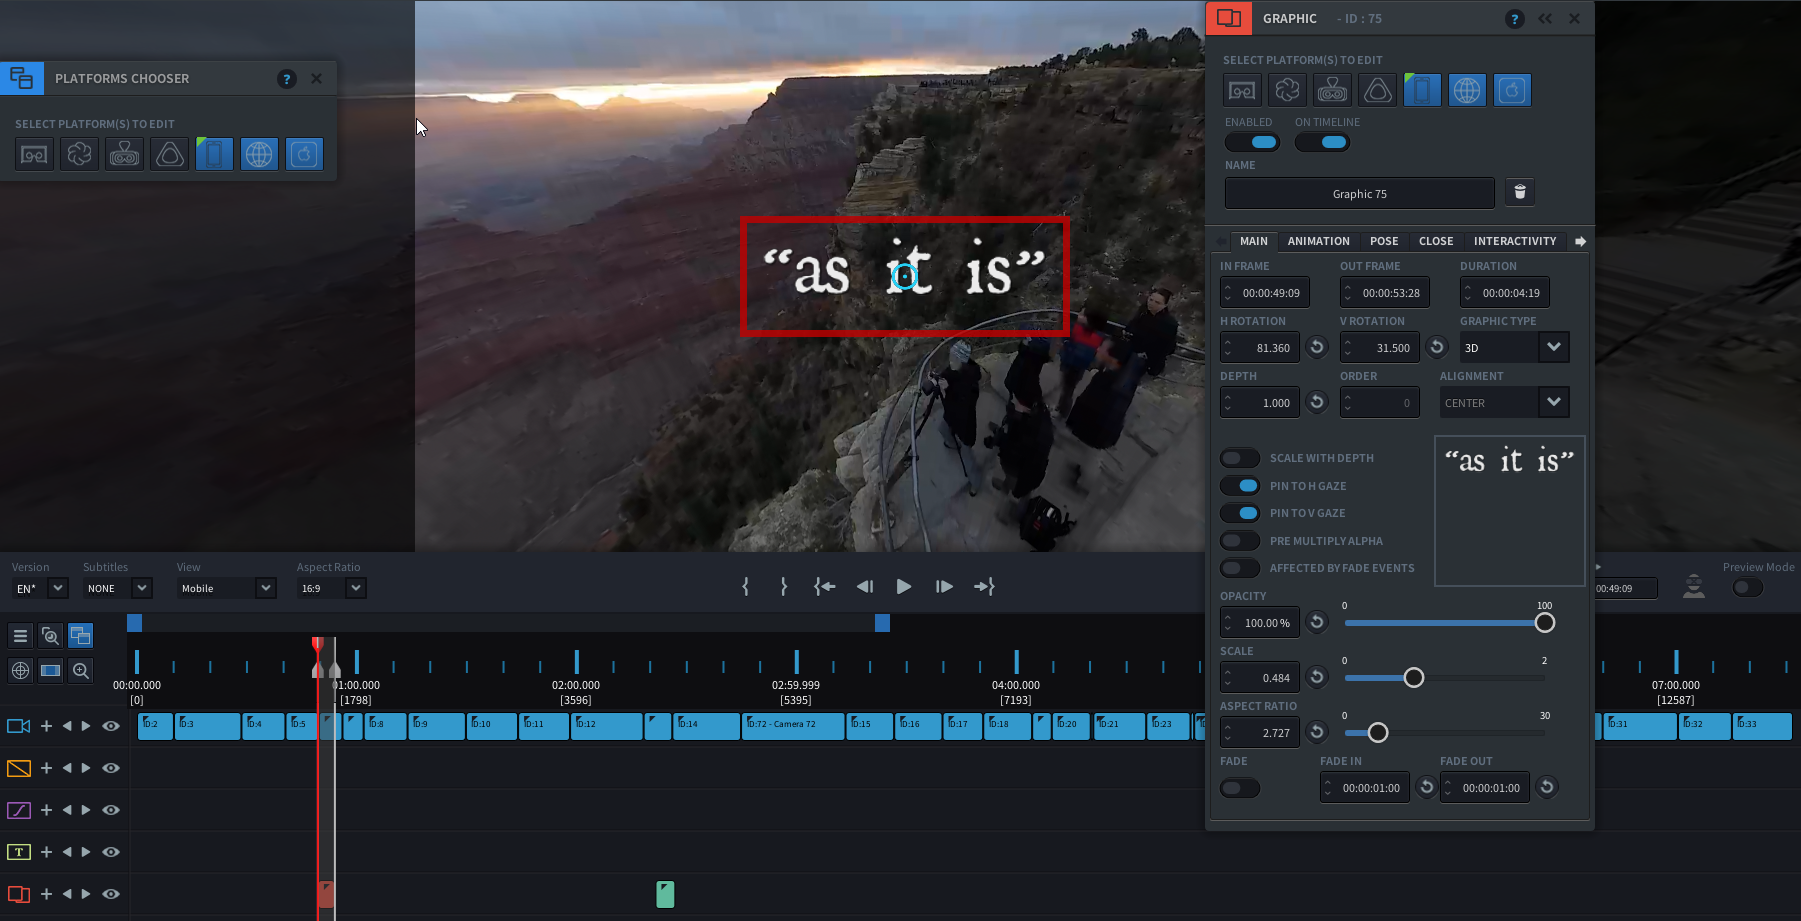
- To enable Pin to Gaze, make sure your Graphic Type is set to 3D
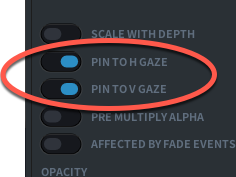
- On the Graphic Editor panel, switch on PIN TO H GAZE and PIN TO V GAZE
- Your title is now set to be pinned to both the Horizontal and Vertical axis. Every time when the graphic appears, it shows right in front of the user’s gaze. When the user looks away however, the graphic stays on the same rotation coordinates, so it does not move along with the user’s gaze.
Pin to Gaze in VR
In VR you may not want to enforce the Vertical Pin to Gaze as it might feel unnatural. You may only want to control the horizontal placement of the graphic, depending on where the user’s gaze is along the horizontal axis. In this case, you can set the PIN TO H GAZE switch only.
Use Hitboxes to spawn a Graphic based on your gaze
Sometimes you want a Graphic to appear ONLY IF the user looks in a certain direction. If the user is not looking in that direction, the Graphic should not show. In this case, the Graphic is triggered by a so-called Hitbox, an area within your 360 sphere that spawns an event or action.
Below is an example how to use a Hitbox for a person title. We will make the title graphic appear only if we gaze at the man giving the presentation:
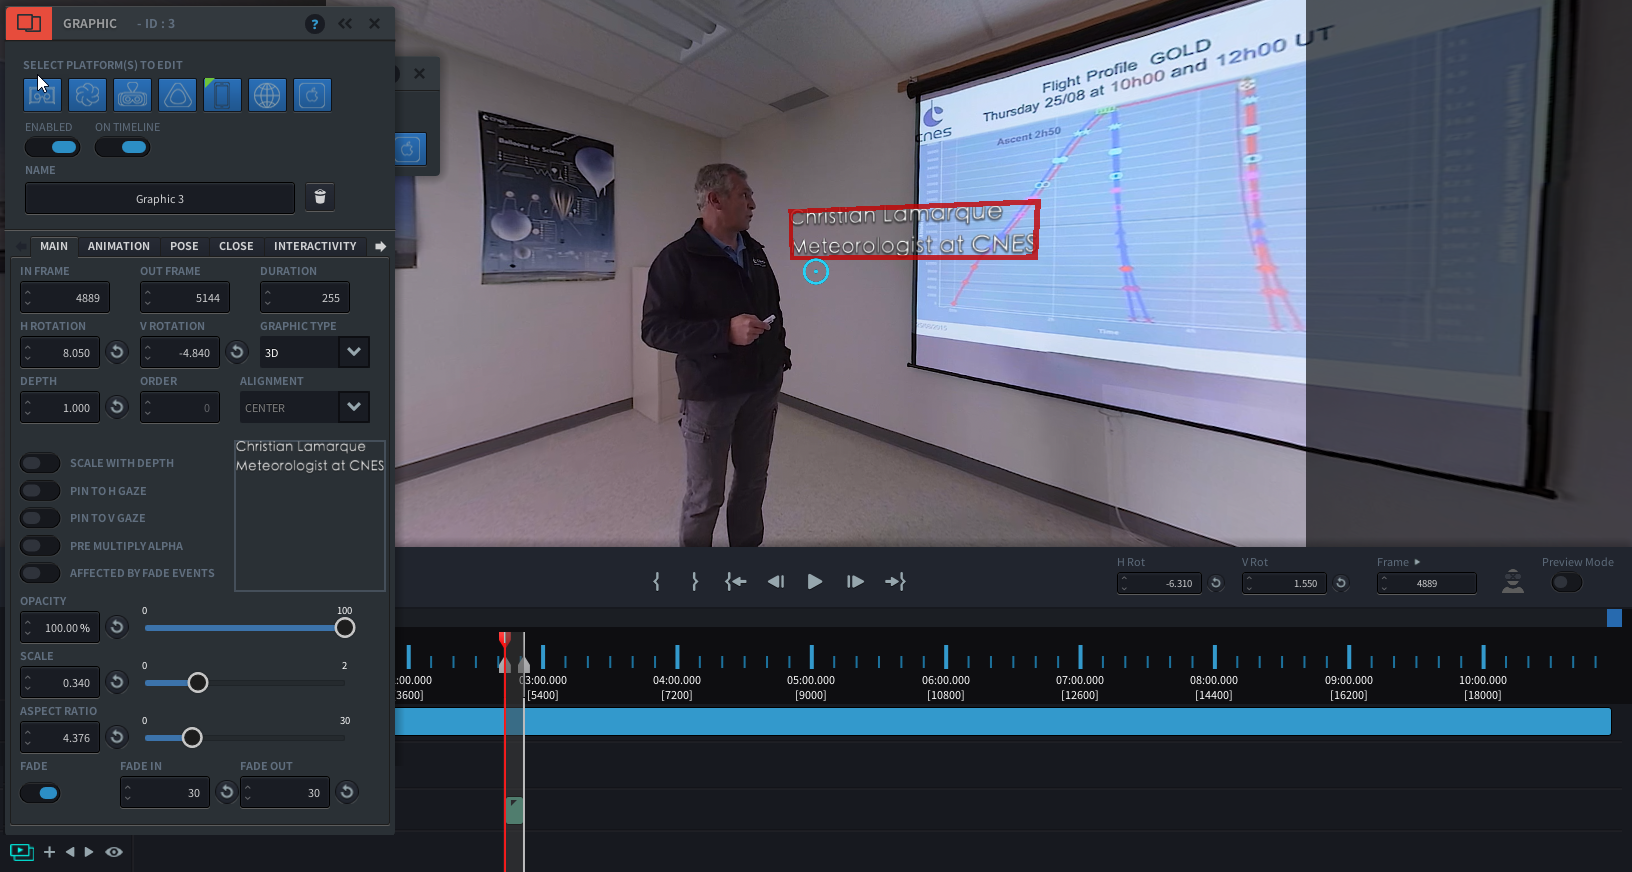
- Create a Graphic Event to which you want to link your Hitbox. On the Graphic Event Editor, make sure Pin to Gaze is turned off
- Close the Graphic Event by hitting the c-key or pressing the ‘x’ on the Event panel.
- Create a new Hitbox Event by clicking the IN
 and OUT
  point, and clicking the plus
  sign next to the Hitbox
  icon. A new Event
  shows up on the timeline
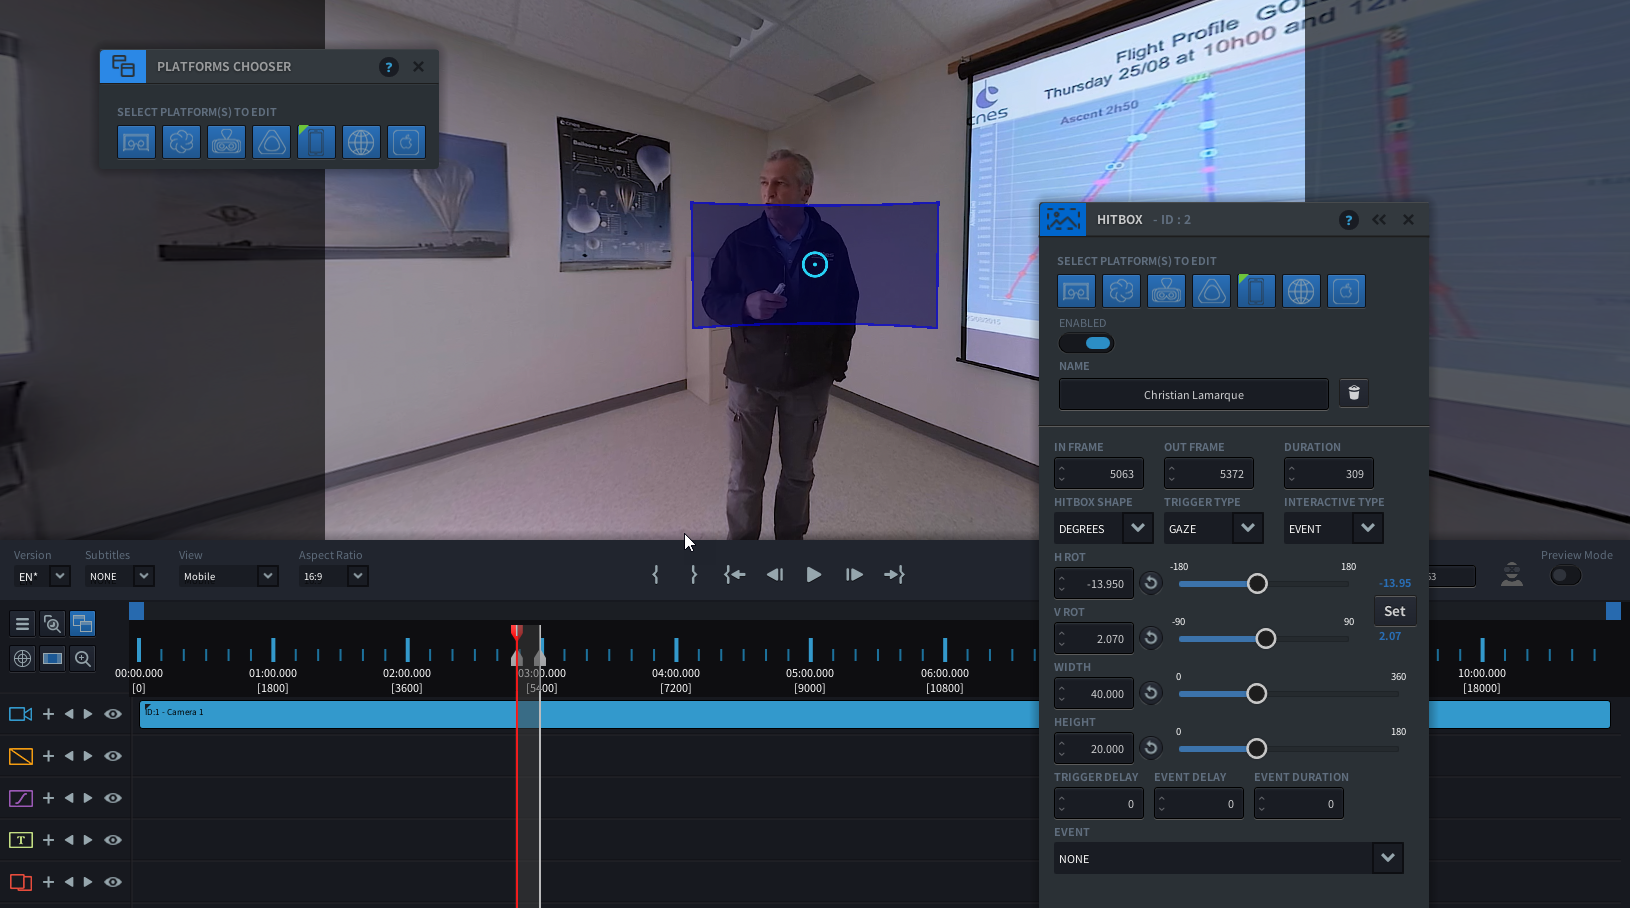
 - Open the Hitbox Editing panel by double clicking the Event. The blue half-transparent square in the middle of your screen indicates the current size of your Hitbox.
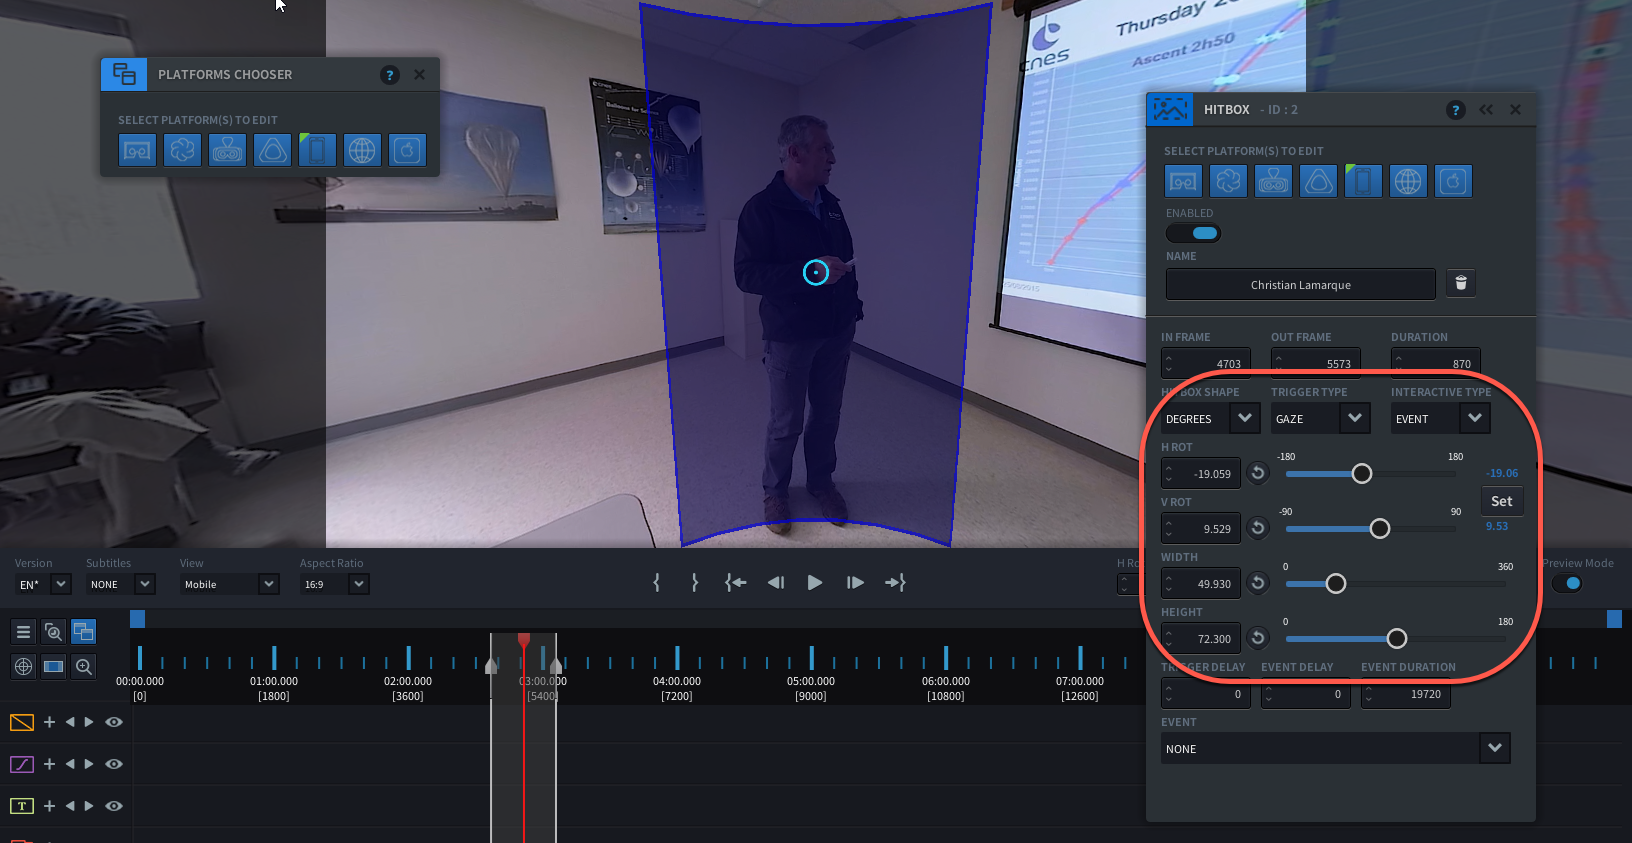
- Change the size to cover the area you wish to trigger the event when gazed upon. In this case I am using ‘Degrees’ and I am increasing the height and width of the Hitbox
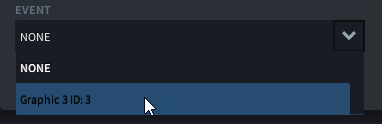
- Link the Hitbox to an Event. From the Event drop down list choose the Graphic ID that you want this Hitbox to trigger
- You will now see the Graphic appear in the Preview Window.
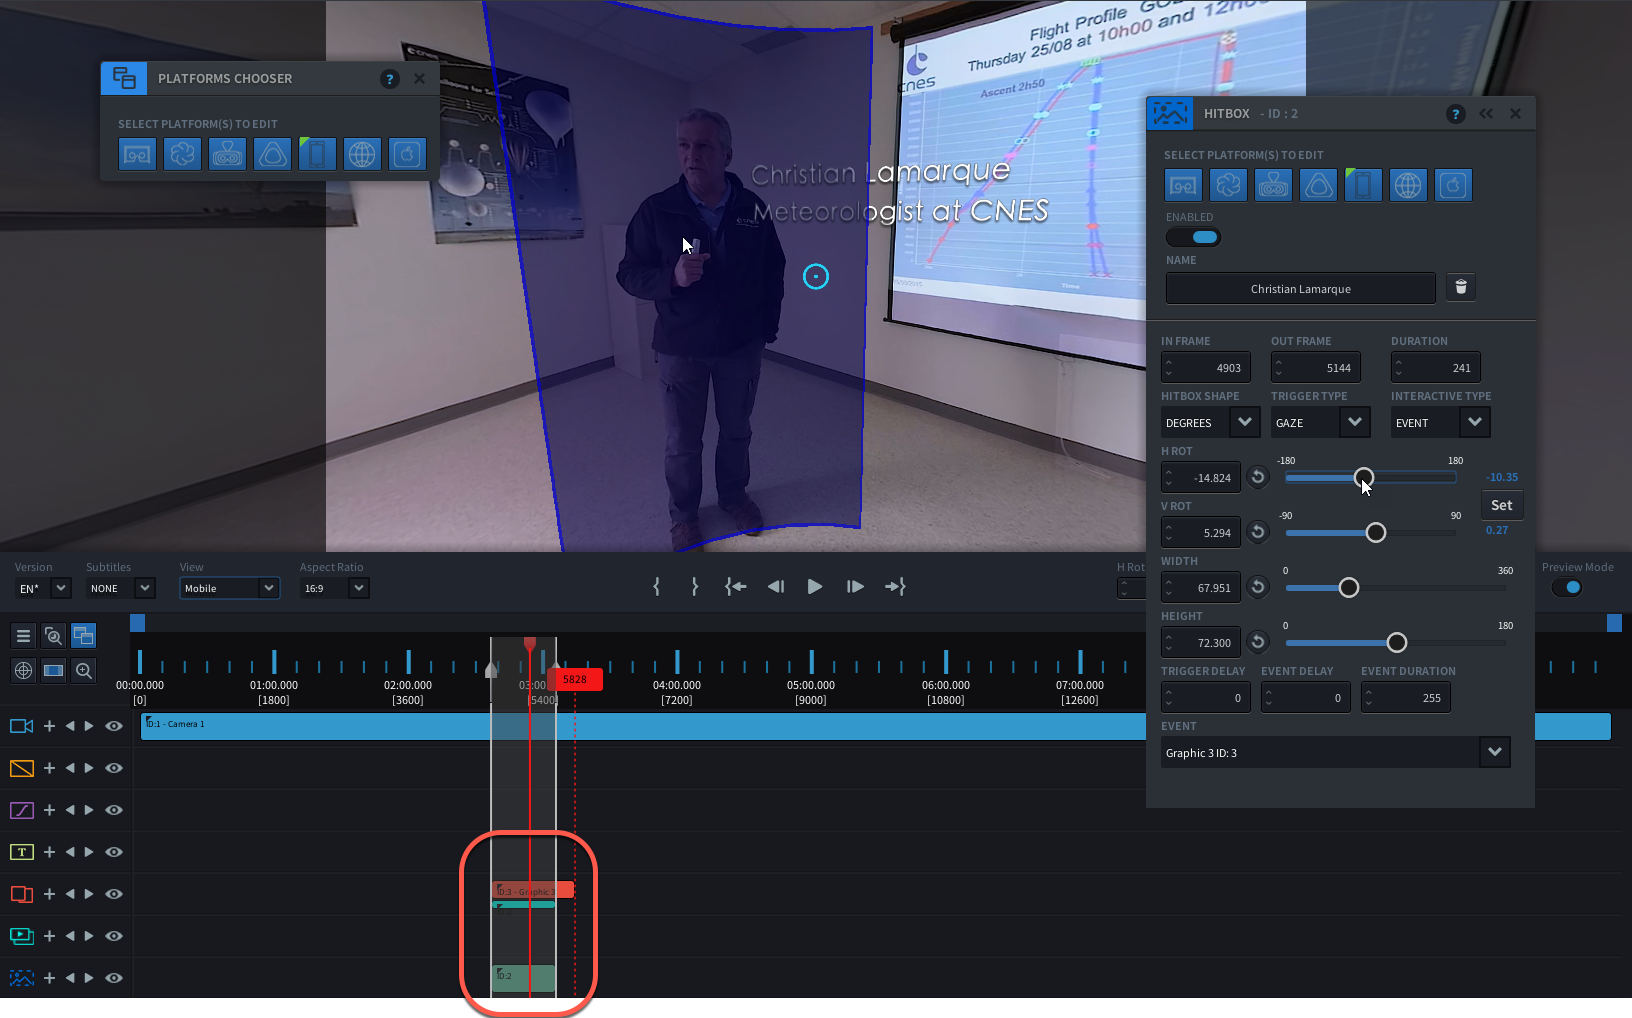
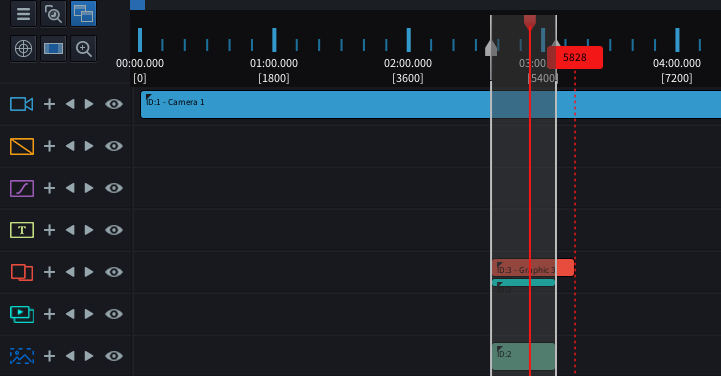
- Note that on the Timline, you see a second bar appear as part of your Graphic Event. This is to indicate that your event is linked to a Hitbox. The red dotted line to the right of the event indicates the last frame that the event associated with the Hitbox can appear.
- Now close the Hitbox Editor panel by hitting the c-key or pressing the ‘x’. Play back the section of your video where your graphic is supposed to show. Test to see how your hitbox works, by playing the video while gazing away from the Hitbox area, and slowly moving your gaze towards the Hitbox area. You will see how the Graphic appears, only if your gaze enters the Hitbox area.