Animating Graphics
Creating Animated Graphics
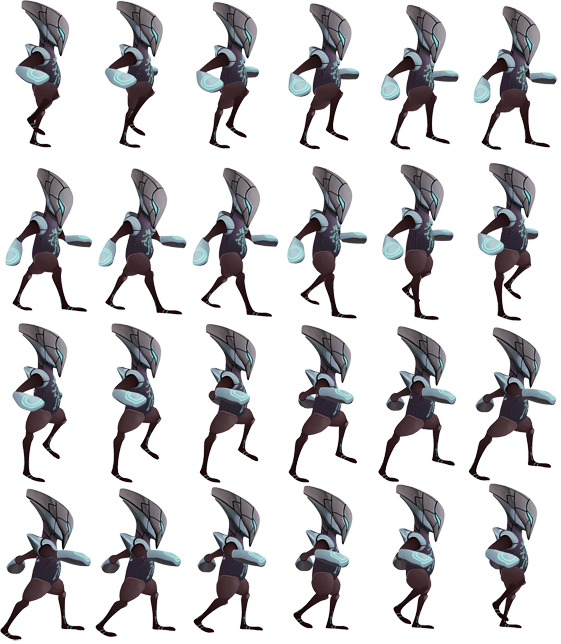
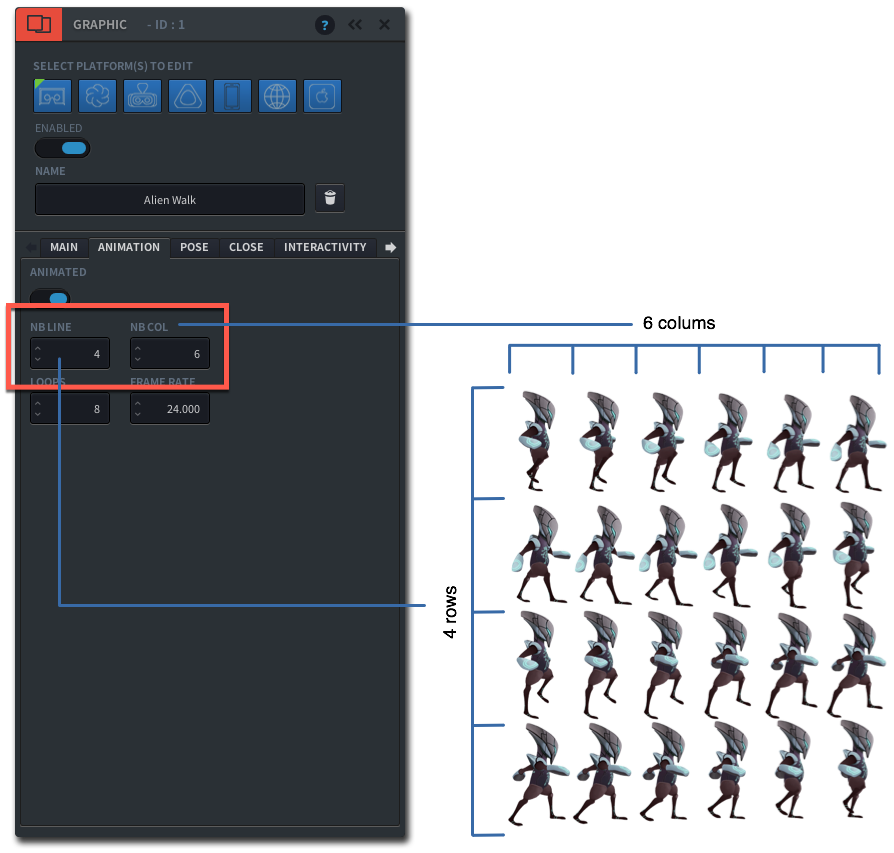
You can create animated Graphics by using so-called Sprite Sheets. Sprite sheets are two dimensional images where the individual cells of an animation are ordered in lines and columns. Liquid Cinema can work with JPEG and PNG based Sprite Sheets.
To the left is an example of a Sprite Sheet that is made up of 4 lines and 6 columns.
Note that the number of lines are counted from top to bottom, and the number of columns are counted from left to right. This is important during the authoring process.
To author an animated Graphic you have to:
-
- Import the sprite sheet into the project by dragging the JPG or PNG file onto the Preview Window
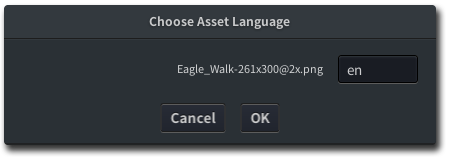
- The authoring tool will ask you to choose an Asset Language. enter your language and click ‘OK’
- Open the Graphic Event Editor panel by Creating a New Graphic or double clicking on an existing Graphic Event in the timeline
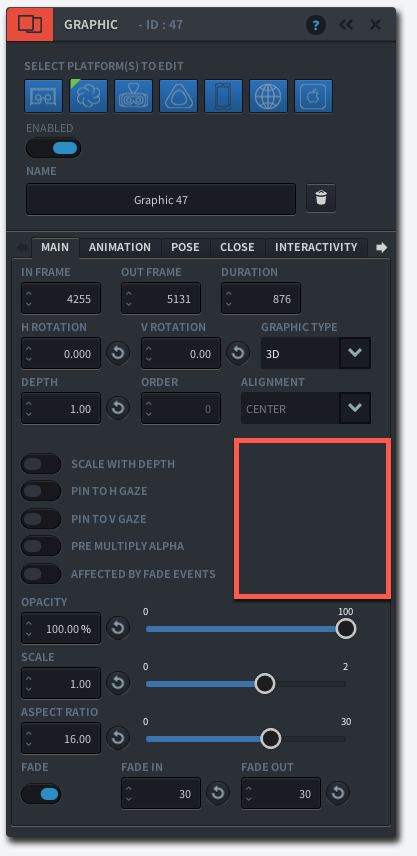
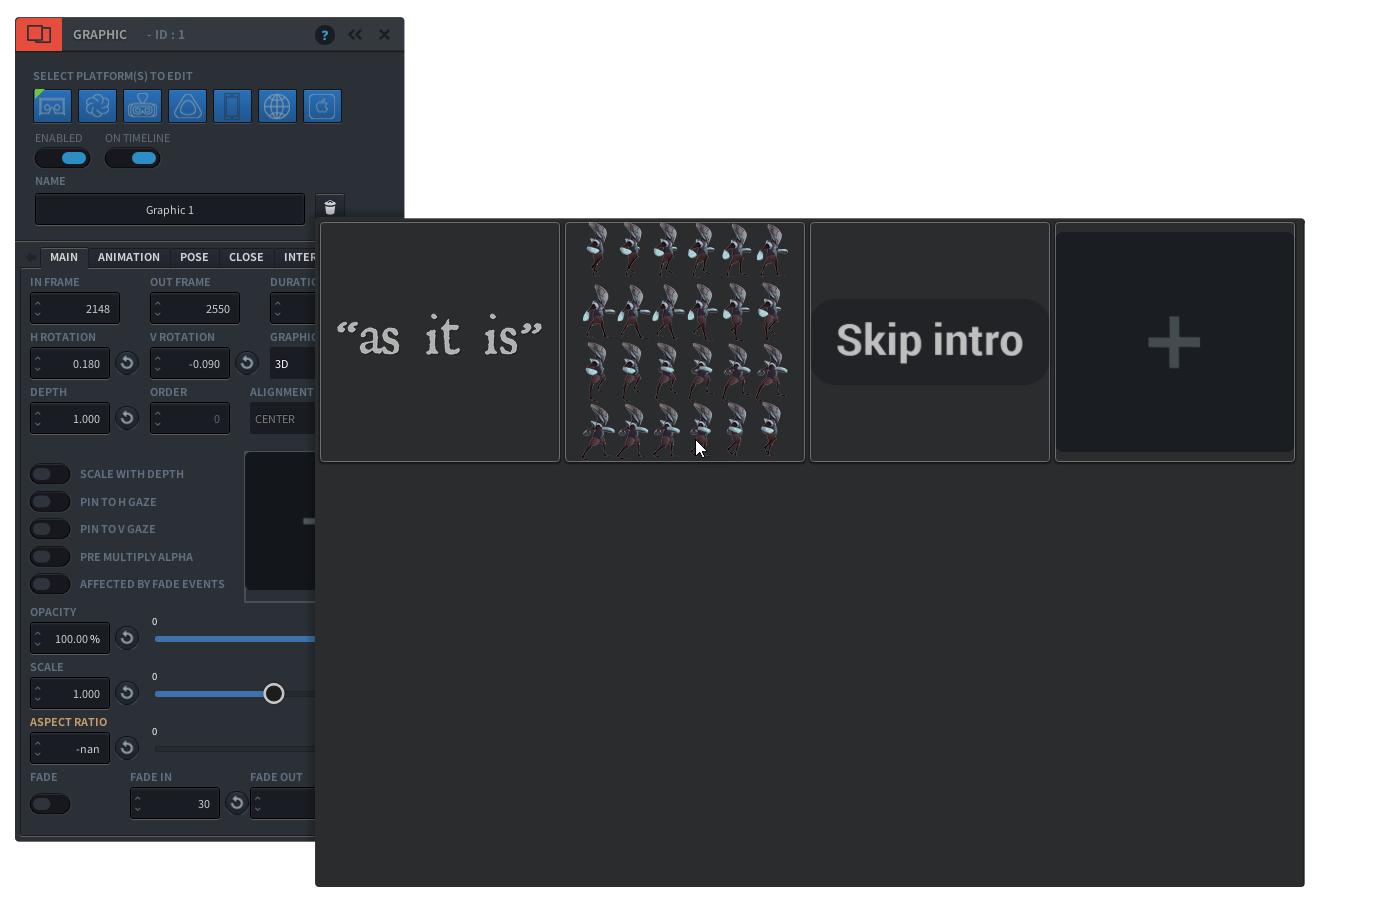
- Click on the Thumbnail Square in the Graphic main panel
- The Source Image Window now lets you browse the images accessible to the project. Click on the Sprite Sheet you want to use
- Give your graphic a Name (optional)
- Click on the Animation Tab, and switch on the ‘Enable’ toggle. Specify the number of rows and columns of your Sprite Sheet. For this example, we use 4 rows and 6 columns
- Set the number of loops the animation has, and the frame rate. The combination of frame rate with number of loops determines the duration of your animation.
- With the Graphic Event Editor panel open, you can already preview your animation by hitting the spacebar or clicking on the ‘Play/Pauze’ button in the Control Bar. You can adjust the number of loops of your animation and the frame rate to speed up or slow down the animation
- Go to the Main tab to Adjust the Position of your Graphic and other properties such as Fades.
- Close the Graphic Event Editor panel by hitting the ‘c’-key or clicking on the ‘x’ (close) button
Number of Loops
If the number of loops is set to zero “0”, your animation will loop endlessly