Multi Platform Editing
With the Liquid Cinema Authoring Tool you can adjust the behaviour and parameters of each of your events on a per-platform basis. What works well on one platform, for instance the web, may not work well in VR. Rather than finding a compromise between the platforms or creating two separate experiences, you can author one project with different settings for the various platforms, using the Platform Chooser.
-
-
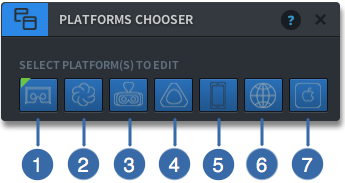
1
Cardboard
-
2
Daydream
-
3
GearVR
-
4
Desktop VR
-
5
Mobile Non-VR
-
6
Web Non-VR
-
7
Apple TV
-
Use the Platform Chooser to:
- choose on which Platform(s) you want an Event to be edited
- specify the Playback Platform that you wish to see in the Preview Window
- detect discrepancies between Platforms
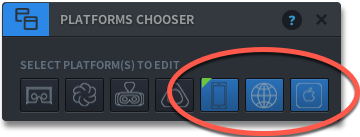
Any platform that is selected (icon = BLUE) is being affected by the event changes you make. Any platform that is not selected (icon = GREY) is not being affected by the event changes you make.
The Multi-Platform Chooser is available on all Event Editing Panels.
Video Tutorial
Please note: since this video tutorial was posted, there have been updates to the tool interface and features. An updated tutorial will be posted soon.
How to use the Platform Chooser
When authoring an Event, you can click one or multiple platforms on the Multi-Platform Selector to select which Platform(s) you want to author. Only the selected platforms will have their settings and values changed as you author Events.
Select one Platform
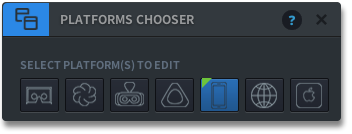
Click on any one of the platform icons until that icon is selected (BLUE) and all the other icons are unselected (GREY)
Select All Platforms
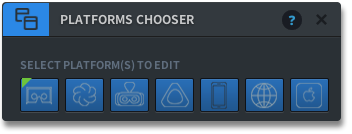
Click on any icon until all seven platforms are selected (BLUE).
Select all VR Platforms
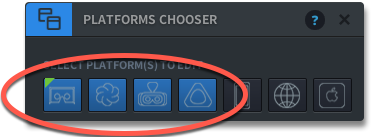
In order to select all VR platforms, click on the one of the VR platform icons (nr. 1-4) until the first four platforms are selected (BLUE).
Select all Non-VR Platforms
To select the group of Non-VR Platforms, click on one of the the mobile icons (nr. 5 – 7) until you see all three non-VR Platforms selected (BLUE).
Useful Shortcut Keys
You can use the 1 – 7 Keys to quickly switch between platforms.
Press a particular numeric key multiple times to quickly select VR/NonVR groups, all platforms and an individual platform.
Specify the Playback Platform
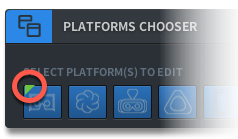
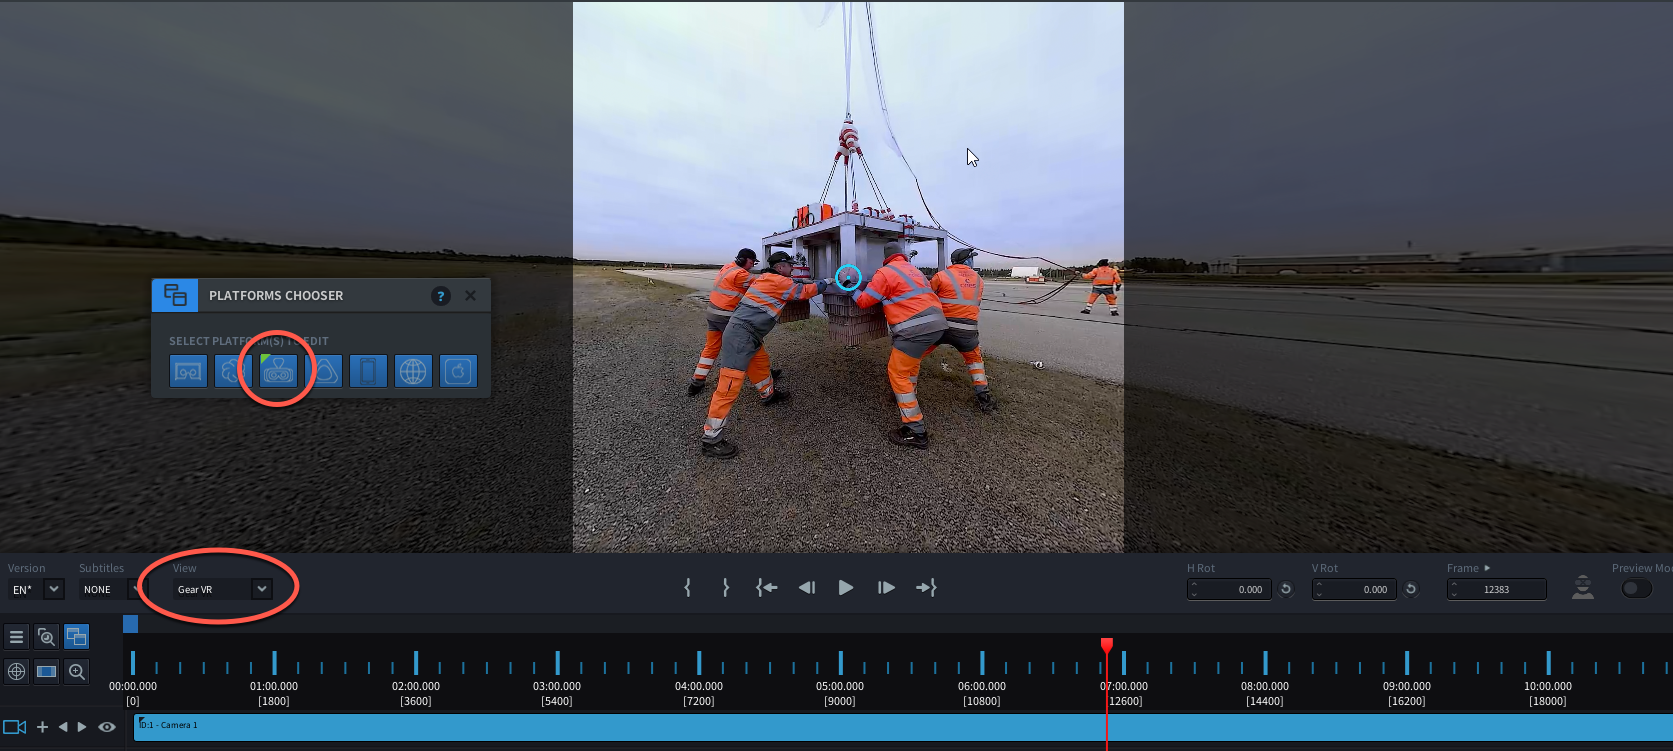
When you click on a platform icon, you will see a green triangle appear on the left corner of the icon. This indicates that this platform is currently represented in the Preview Window. You can switch the Platform for preview at any time.
You will see that on the Playback Control Bar, under ‘View’, the platform will automatically update with the the Playback Platform you choose on the Platform Chooser. When selecting the GearVR icon on the Platform Selector, under ‘View’ it lists ‘GearVR’.
Detect Discrepancies between Platforms
The Tool auto-detects when there are discrepancies in the settings and values across the platforms and displays these using by marking them yellow.
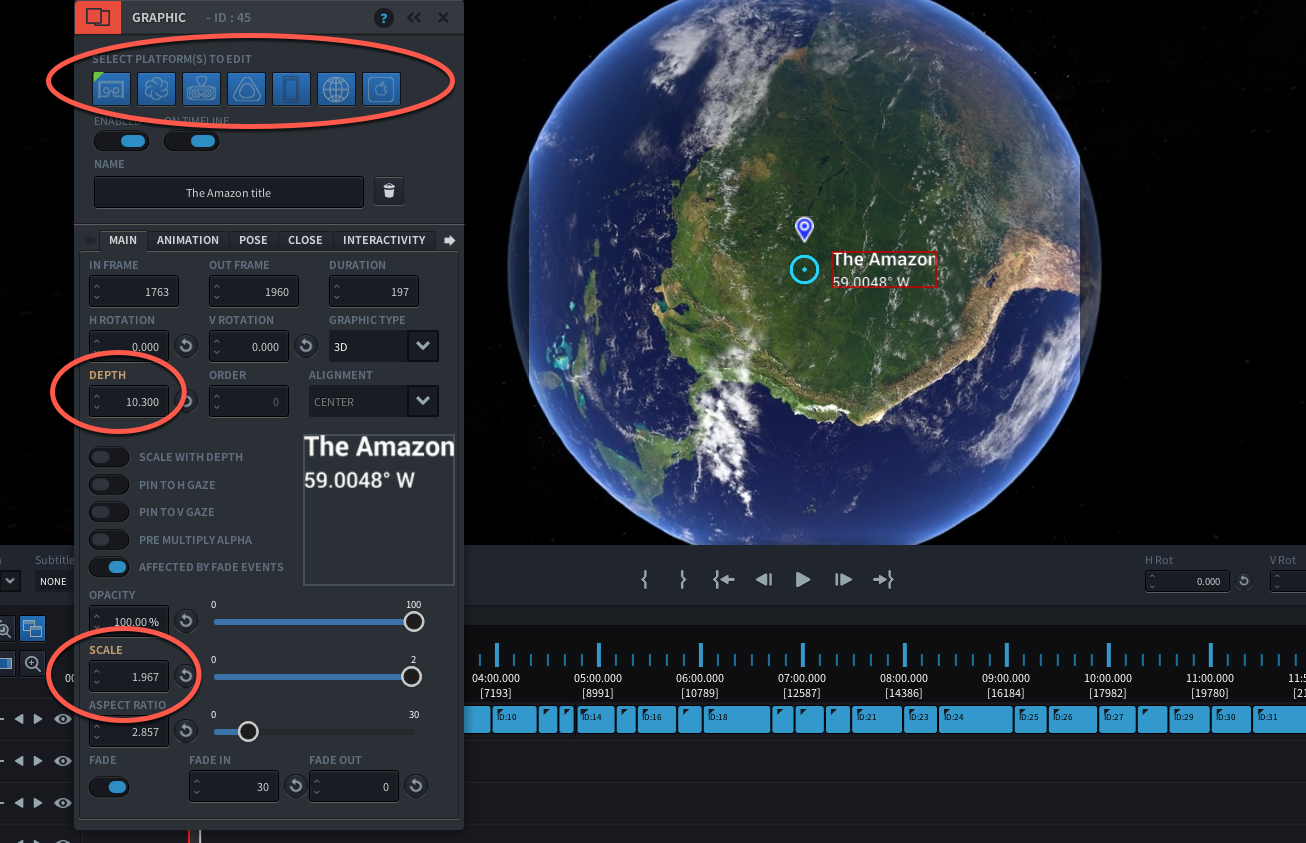
The below example shows a graphic event which has been authored with different depth and scale values for VR platforms and Non VR platforms. For VR platforms the depth is 10.300 and scale 1.967, but for non-VR platforms the depth is 1.000 and scale 0.250.
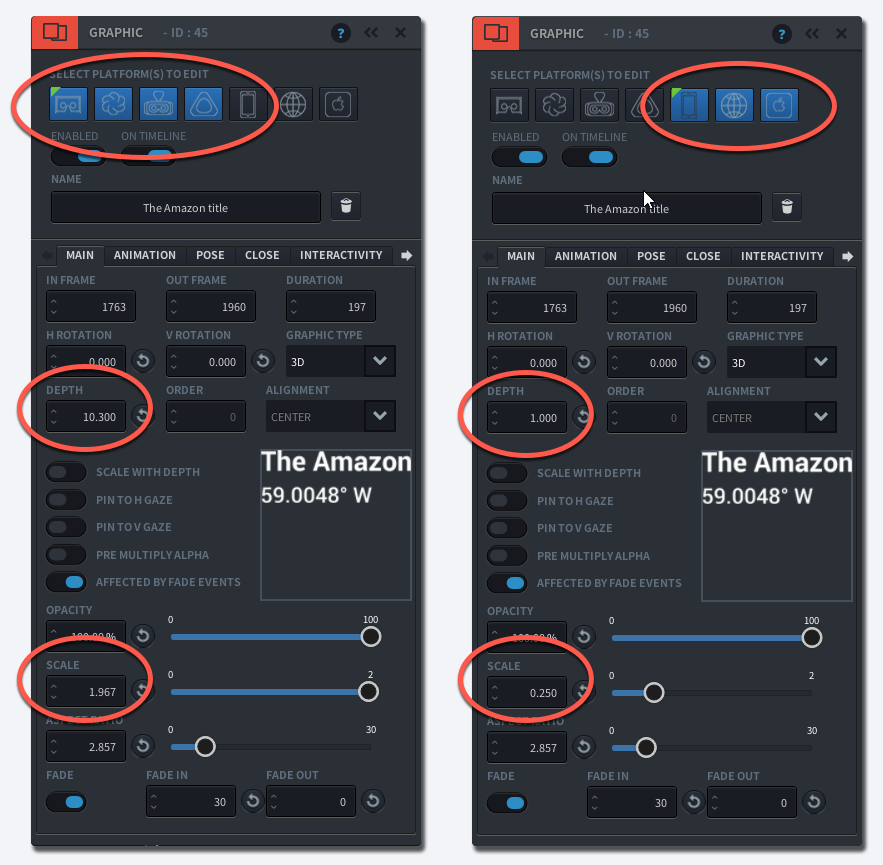
When both non-VR and VR platforms are selected, the tool will automatically alert you that there is a discrepancy between the platform values (the input field label will turn yellow) to let you know if you proceed with a new value, a hidden custom value will be overwritten.
You can use the Selector to isolate which platform(s) should be adjusted.
Remember you can only see the values of the currently selected platform in any Event Editor.